Flyaways ruining your sleek finish? Here’s how to smooth them

Few things are more irritating than perfecting your blow-dry, only for a halo of tiny hairs to spring up around your parting. And while a little texture is lovely, sometimes you want your hair to look smooth, glossy and put together.

The secret? A few tweaks to your routine and a light touch with your styling products. Here’s our stylist-approved tips for how to get those wayward strands under control.

Get to know your flyaways

Before reaching for a serum, consider what you’re trying to smooth. Flyaways can be new hairs growing through, strands that have snapped or hairs lifting because of static.

That means they don’t all need the same approach. New growth needs gentle styling, while breakage calls for a closer look at how you handle your hair.

Start smoothing in the shower

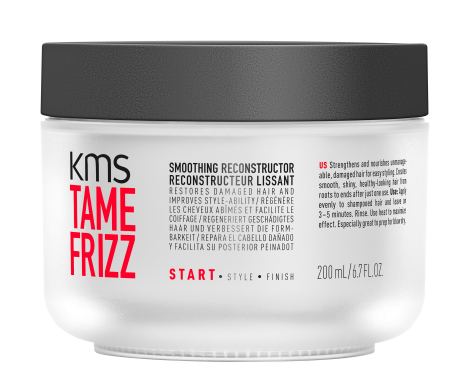
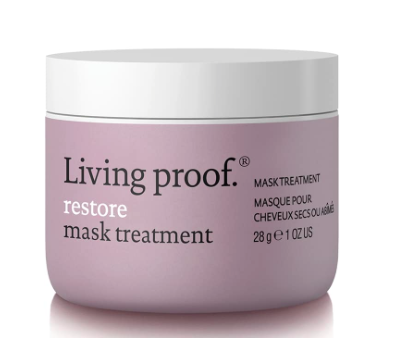
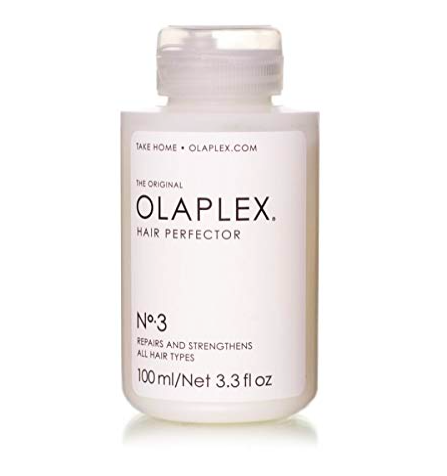
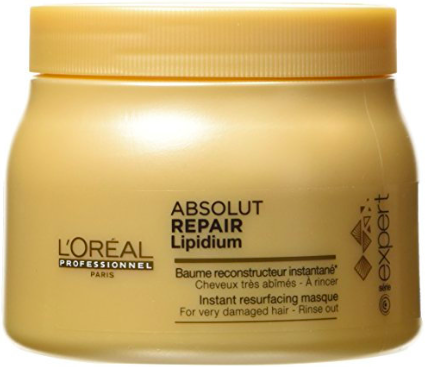
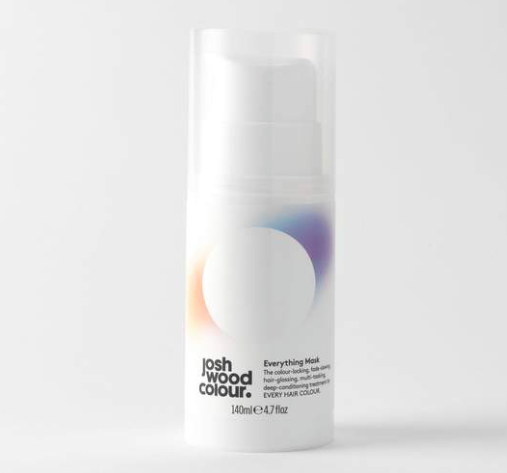
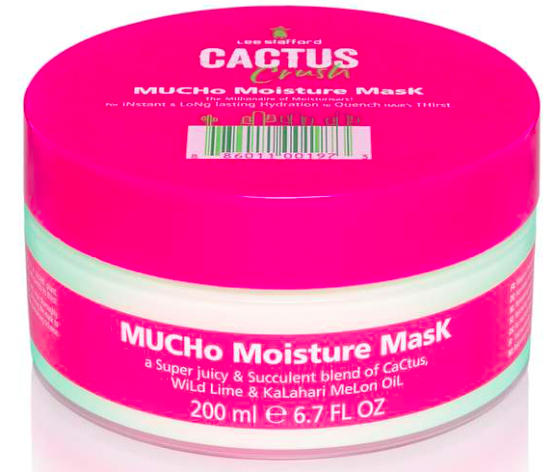
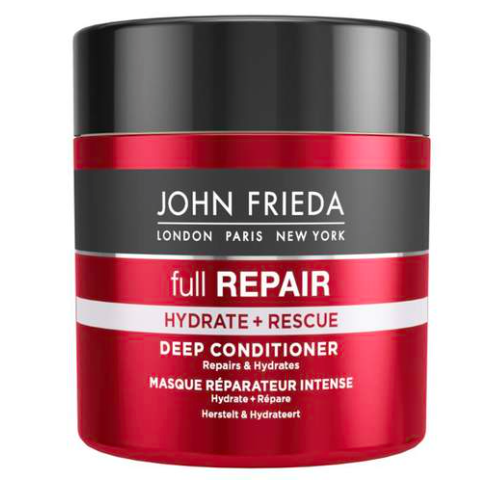
A good conditioner makes hair easier to manage, so give your lengths and ends some attention when you wash. If they feel particularly dry, bring a conditioning mask into your routine.

Choose a formula that suits your texture: lightweight conditioning for fine hair, something richer for thicker strands. Too much product can leave hair looking flat before you’ve even picked up the dryer.

Rethink the towel rub

That vigorous towel-dry might save a few seconds, but the friction can rough up your style before it’s begun.

Gently squeeze out excess water with a soft towel, microfibre towel or cotton T-shirt instead. Then ease out tangles from the ends upwards, taking your time with any knots.
Give your blow-dry some direction

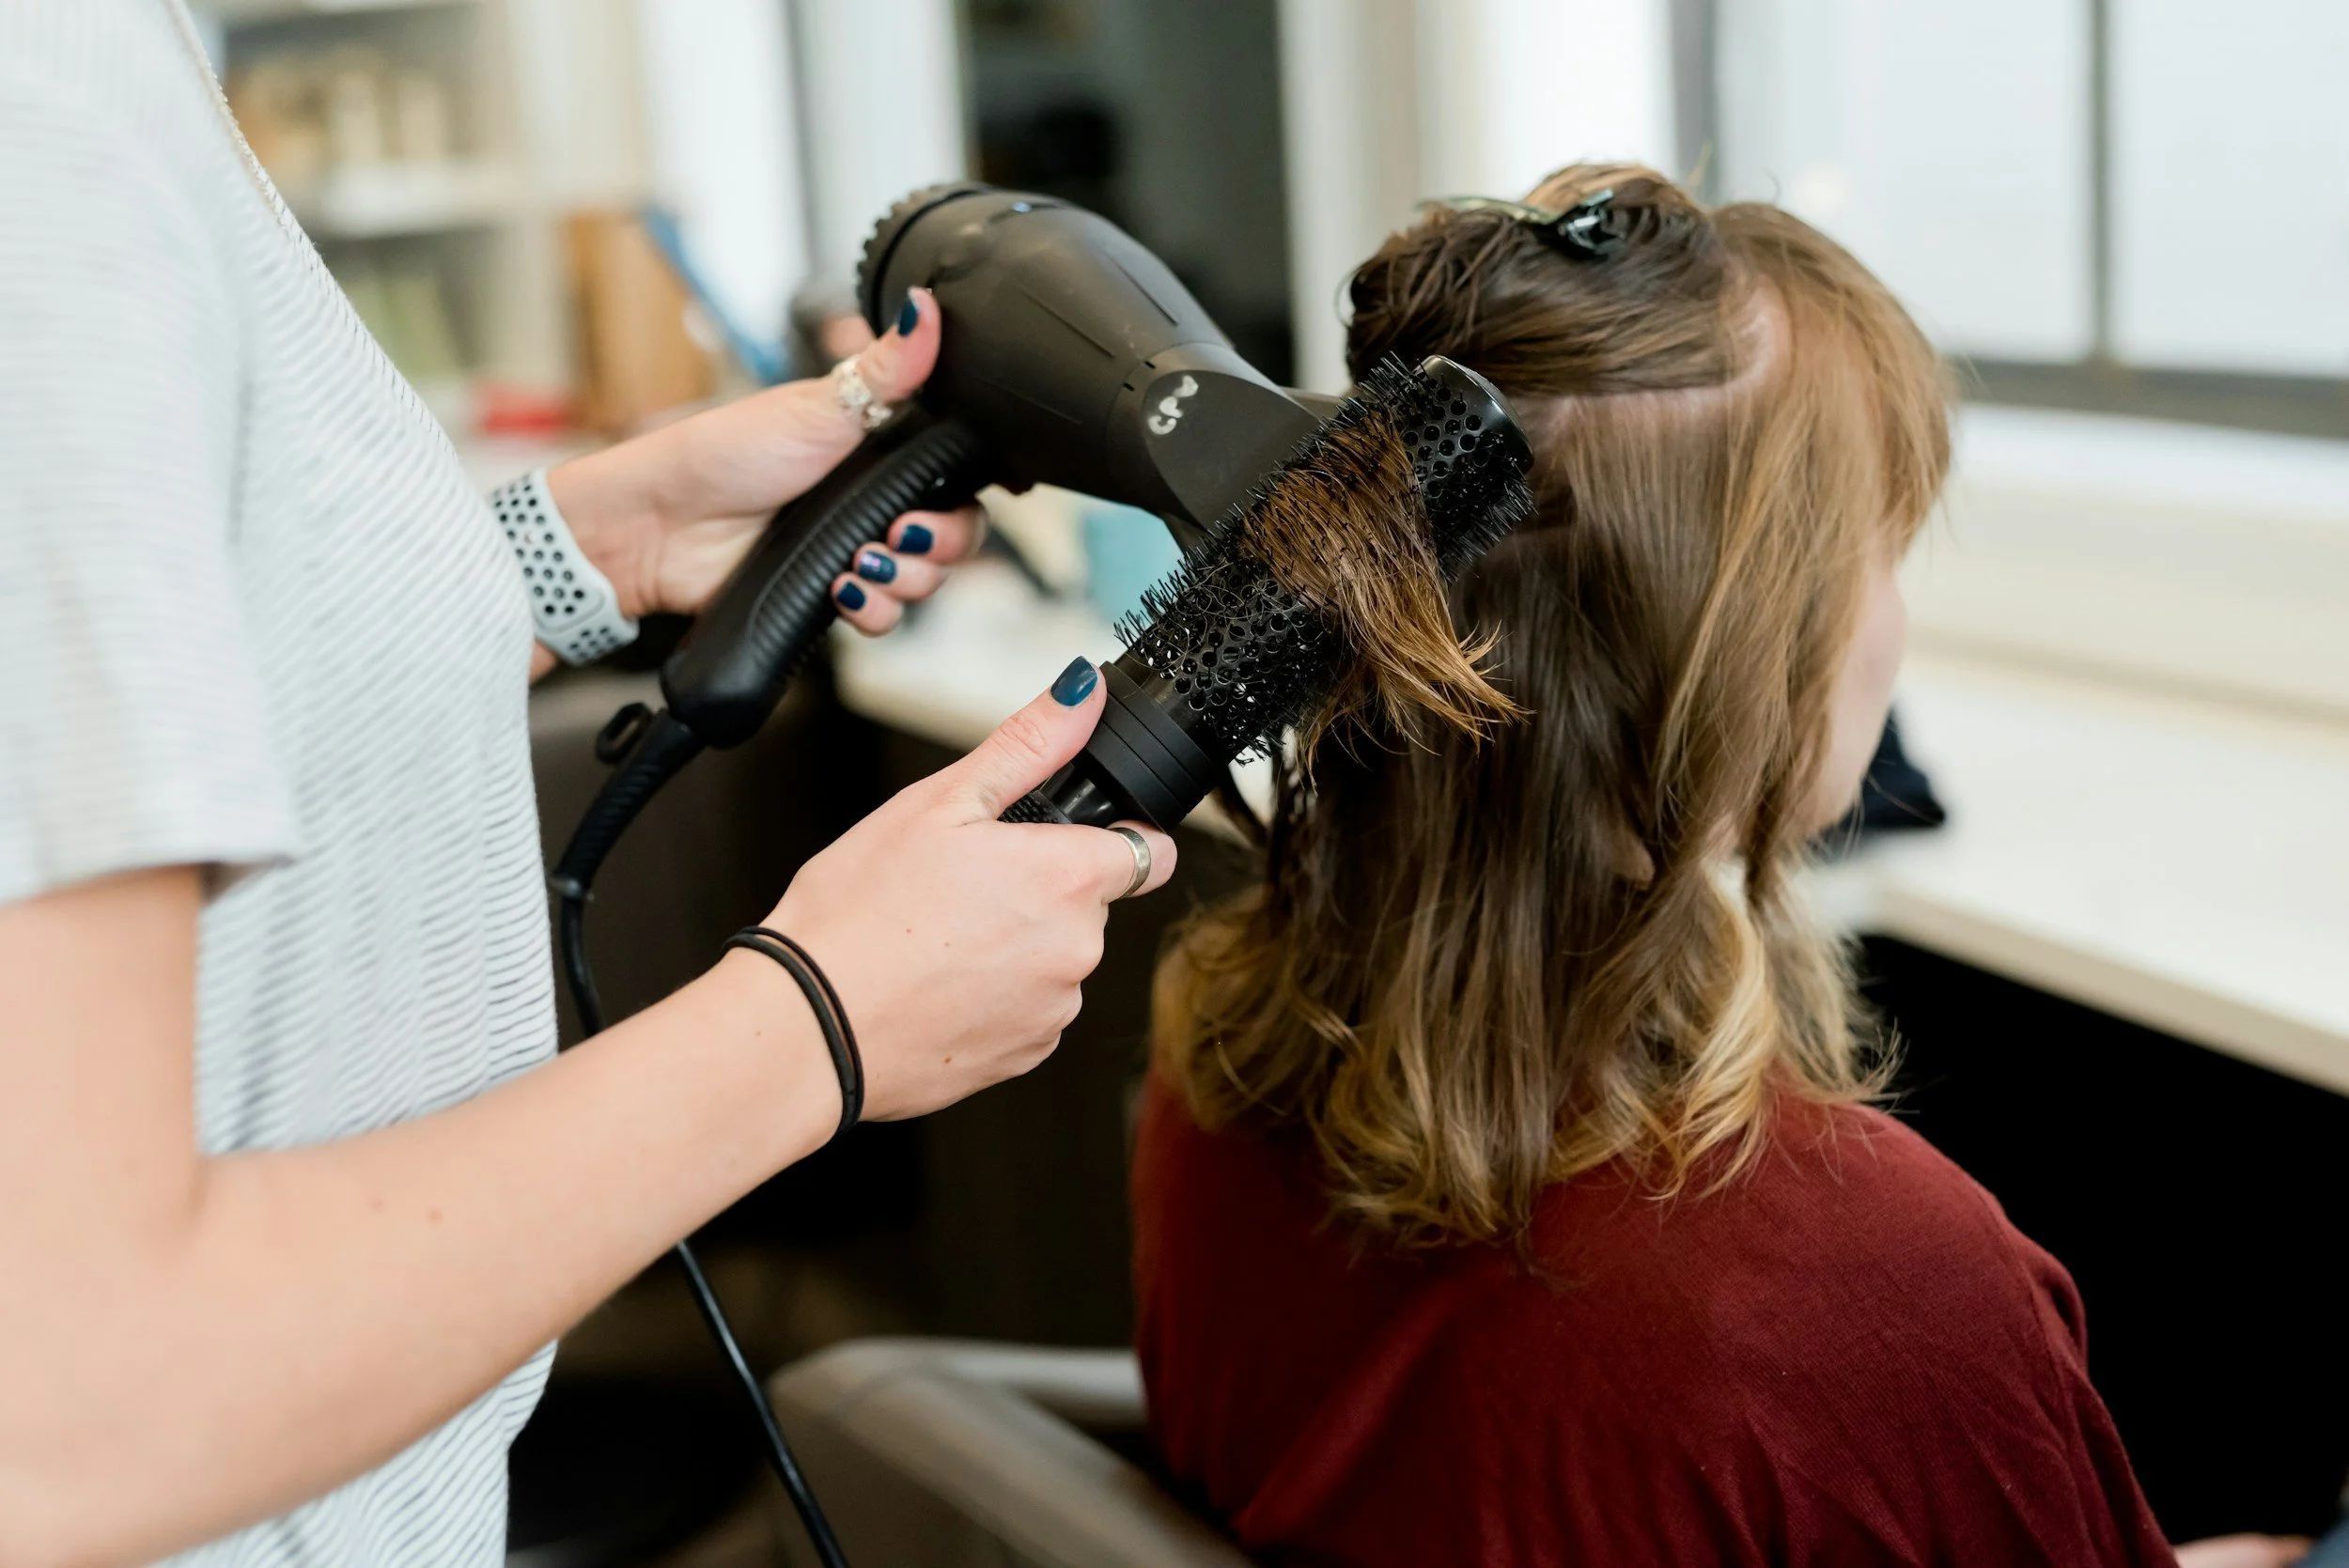
For a smoother finish, direct the airflow down your hair towards the ends. A nozzle attachment helps keep it focused, rather than blowing strands in every direction.

Apply heat protectant first, keep the dryer moving and avoid repeatedly heating sections that are already dry. More heat isn’t the shortcut to a better blow-dry.

Make your finishing product work harder

A little serum or smoothing cream can make a big difference. Start with a tiny amount, spread it between your palms and lightly skim over the surface of your hair.

Keep richer products mainly on the lengths and ends, especially if your roots get oily easily.

For those stubborn little hairs around your parting, apply a small amount of hairspray to a clean spoolie or styling brush, then gently sweep them into place. It gives you more control than another all-over blast of spray.

Take the tension out of your ponytail

A sleek ponytail is always tempting on a busy morning, but repeatedly pulling it tight can contribute to breakage.

Use a soft, snag-free hair tie, vary its position and resist the urge to tug harder just to catch every last strand. A few soft hairs around your face can be part of the look.

Book a trim with a purpose

If your ends are damaged, a trim can help your hair look neater. But cutting won’t solve static, and those little hairs may simply be new growth. Ask your stylist to help you work out what’s going on, then choose a cut and home routine that suit your hair.

Ready for a smoother finish? Book an appointment at Pankhurst & Deane for styling advice tailored to your texture, your routine and the look you love.

How to get rid of split ends - and stop them coming back

Split ends: tiny, irritating and capable of making even freshly styled hair look tired. But can you actually repair them? Here’s the honest answer.

Start with a trim

No product can permanently fuse a split end back together. Serums and masks may temporarily smooth and disguise the damage, but a professional trim is the only way to remove it. Left alone, a split can travel further up the hair shaft, leading to more breakage—and a bigger cut later.

Handle your hair gently

Wet hair is particularly vulnerable, so avoid rough towel-drying and aggressive brushing. Gently squeeze out excess water, use a microfibre towel and detangle from the ends upwards with a wide-tooth comb.

Turn down the heat

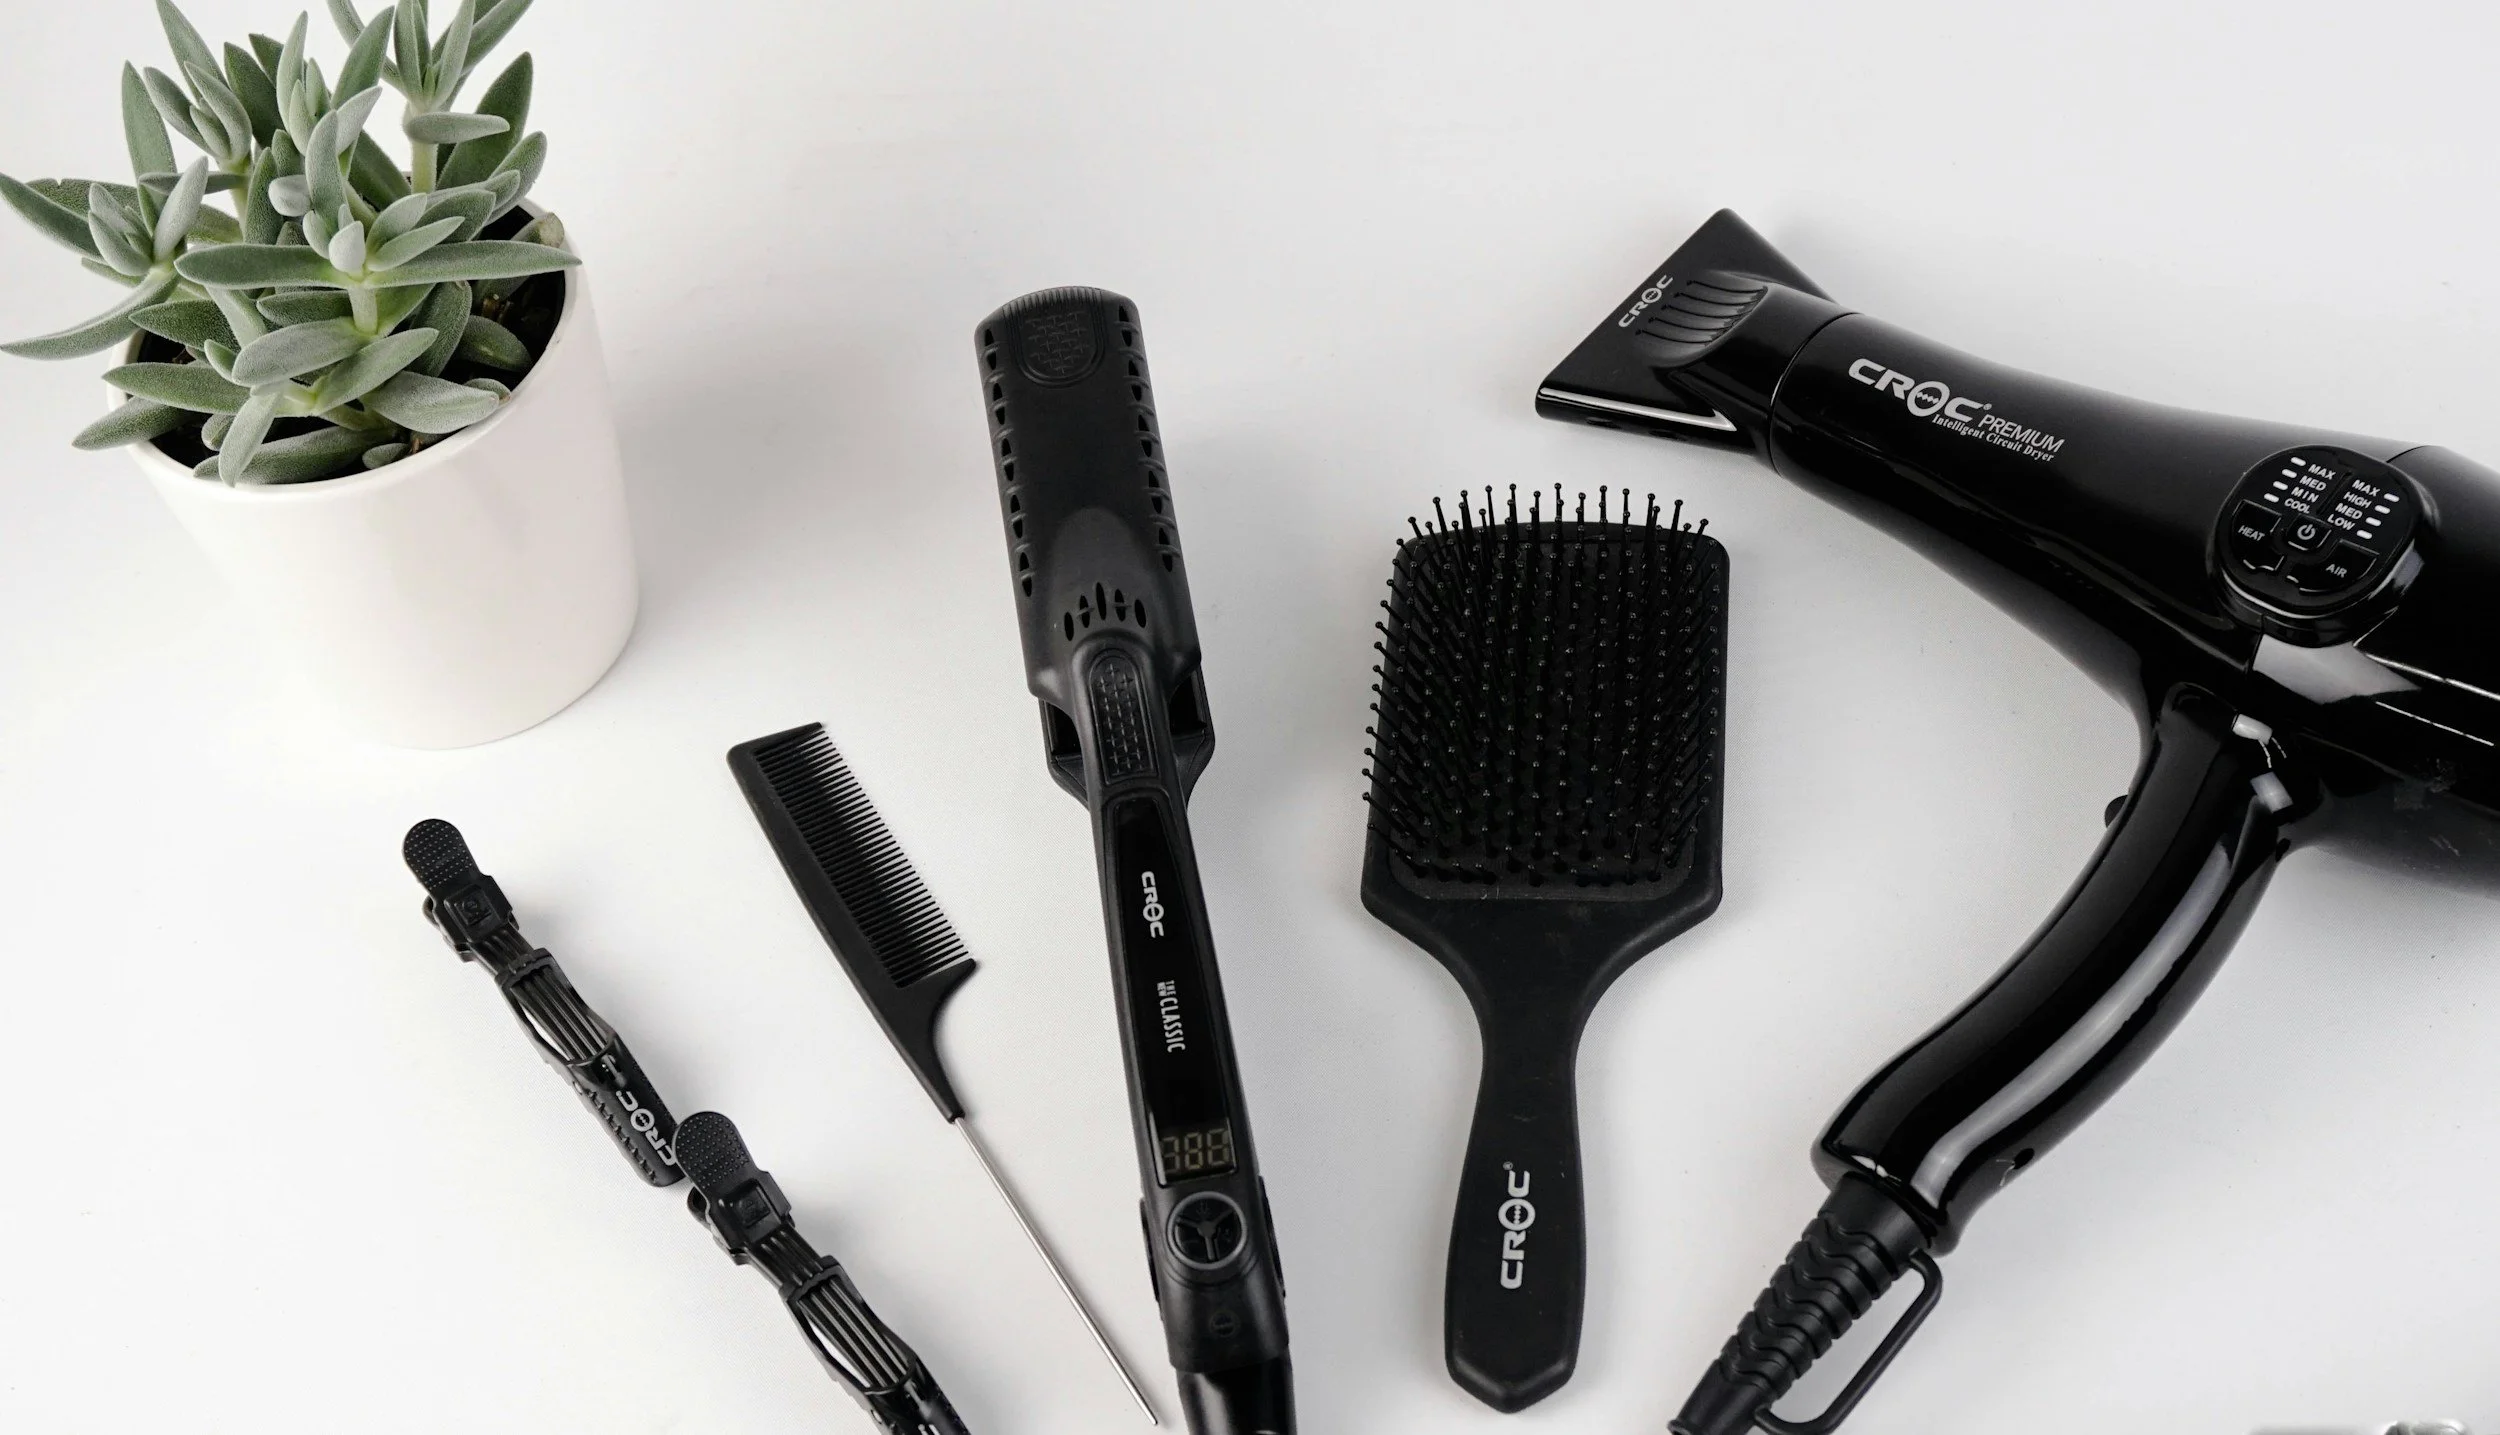
Straighteners, curling irons and overly hot hairdryers can weaken the hair’s protective outer layer. Apply heat protection every time, choose the lowest effective temperature and give your hair regular styling breaks.

Add moisture—but don’t overdo it

Use a nourishing conditioner after every wash and apply a weekly mask, concentrating on the mid-lengths and ends. Finish with a small amount of hair oil or serum to reduce friction and keep the ends looking polished.

The best strategy? Regular trims combined with gentle, consistent care. Book a salon appointment and we’ll remove damaged ends while keeping as much of your length as possible.

The do's and don'ts of heat styling

Heat styling can help you get a polished look, but it can also cause damage to your hair, Here are our top do’s and don’ts for protecting your hair when using hot tools.

Do always apply a heat protectant before using any heated styling tools. This creates a barrier between your hair and the heat, reducing moisture loss and damage.

Do invest in high-quality styling tools with adjustable temperature settings. Fine hair requires less heat, while thicker hair may need slightly higher temperatures.

Do give your hair regular breaks from heat styling. Embrace your natural style or try heat-free methods like braiding damp hair or doing sock curls.

Don’t use heat tools on soaking wet hair unless they’re specifically designed for it. This can cause severe damage and weaken the hair structure.

Don’t go over the same section repeatedly. Try to style each section in one smooth pass to minimise exposure to heat.

Your ultimate step-by-step guide to fixing split ends

Split ends are a pain and while they are practically unavoidable, the good news is with the right approach and a little consistency they are totally manageable. Here’s your five step plan.

1. Start with the only true fix: a trim
Let’s be honest—once a hair strand splits, it can’t be permanently repaired.

The most effective solution is a clean trim to stop the damage from traveling further up the shaft. Even a micro-trim every six to eight weeks keeps the ends looking fresh.

2. Boost your hydration
Dryness is one of the biggest causes of split ends. Invest in a nourishing conditioner and commit to a weekly deep-conditioning mask.

Look for ingredients like argan oil, shea butter, and keratin to restore moisture and smooth the cuticle.

3. Turn down the heat
Excessive heat styling weakens the hair structure, making it more prone to splitting. Try air-drying when possible, and always use a heat protectant before styling tools. Lower temperatures can make a noticeable difference over time.

4. Be gentle with your hair
Rough towel-drying and aggressive brushing can worsen breakage. Switch to a microfibre towel or even a cotton T-shirt to dry your hair, and use a wide-tooth comb to detangle—starting from the ends and working upward.

5. Seal and protect
While you can’t fix split ends permanently, lightweight oils and hair serums can temporarily seal them, giving a smoother, polished appearance. Think of it as a finishing touch rather than a cure.

The secret to faster hair growth: simple habits for stronger, healthier hair

Healthy, beautiful hair doesn’t happen overnight—but with the right care and consistency, you can absolutely support faster, stronger growth.

At Pankhurst & Deane, we always remind our clients that hair growth starts at the scalp and it’s also influenced by your daily habits as well as the products you use. Here are our secret tricks for hair growth.

Look after your scalp

Maintaining a clean and well-nourished scalp is essential. Product build-up, excess oil and environmental pollutants can block hair follicles and slow down growth. Using a gentle, high-quality shampoo and conditioner suited to your hair type helps keep your scalp balanced and healthy—creating the ideal environment for hair to thrive.

Give yourself a head massage

Scalp massage is another simple but powerful habit to introduce into your routine. Taking a few minutes each day to gently massage your scalp can help stimulate blood flow to the hair follicles, encouraging healthier growth over time. It’s a small step that can make a noticeable difference when done consistently.

Get a trim

Regular trims are often misunderstood when it comes to growing your hair. While trimming doesn’t directly speed up growth from the root, it does prevent split ends from travelling up the hair shaft and causing breakage. Keeping your ends healthy means your hair can retain its length more effectively.

Cut back on heat styling

It’s also important to minimise damage. Frequent heat styling, tight hairstyles, and harsh chemical treatments can weaken the hair, leading to breakage and slower progress. Whenever possible, use heat protection, opt for looser styles, and give your hair regular breaks from intensive styling.

Eat well

Finally, don’t forget that healthy hair starts from within. A balanced diet, proper hydration, and key nutrients all play a role in supporting strong, resilient hair.

Hair growth is a journey, and patience is key—but by focusing on overall hair health, you’ll see stronger, longer results over time.

Three steps to grow out a bob according to the experts

When you're growing out your hair it can feel painstakingly slow, and there's nothing worse than that in between stage when you feel like you're neither one style nor another.

The thing is, there is no single product that will make your hair grow quicker (sorry, we wish there was!). But there are certain things you can do which will get your hair in great condition to help it grow.

Step one: Stop towel drying your hair

If you wrap your hair into a bath towel turban after washing, stop! This causes hair to break and towel rubbing it dry causes even more damage. Instead invest in a microfibre hair wrap like this, which is more gentle on the follicles and also helps to de-frizz at the same time.

Step two: Treat your hair with some TLC

Try and exfoliating shampoo to properly cleanse your hair and strengthen it against breakage. We like this one from L'Oreal Paris. A rich argan-oil based conditioner like this will also keep your locks in good condition.

Step three: Cut your hair every six to eight weeks

We know this sounds scary and counterproductive to someone growing their hair, but regular trims will give your follicles a boost and help with your game-term plan to have long, luscious locks. Book your next appointment by calling us on 01865 553725 or clicking here.

This kitchen staple is the perfect ingredient to make a DIY hair mask

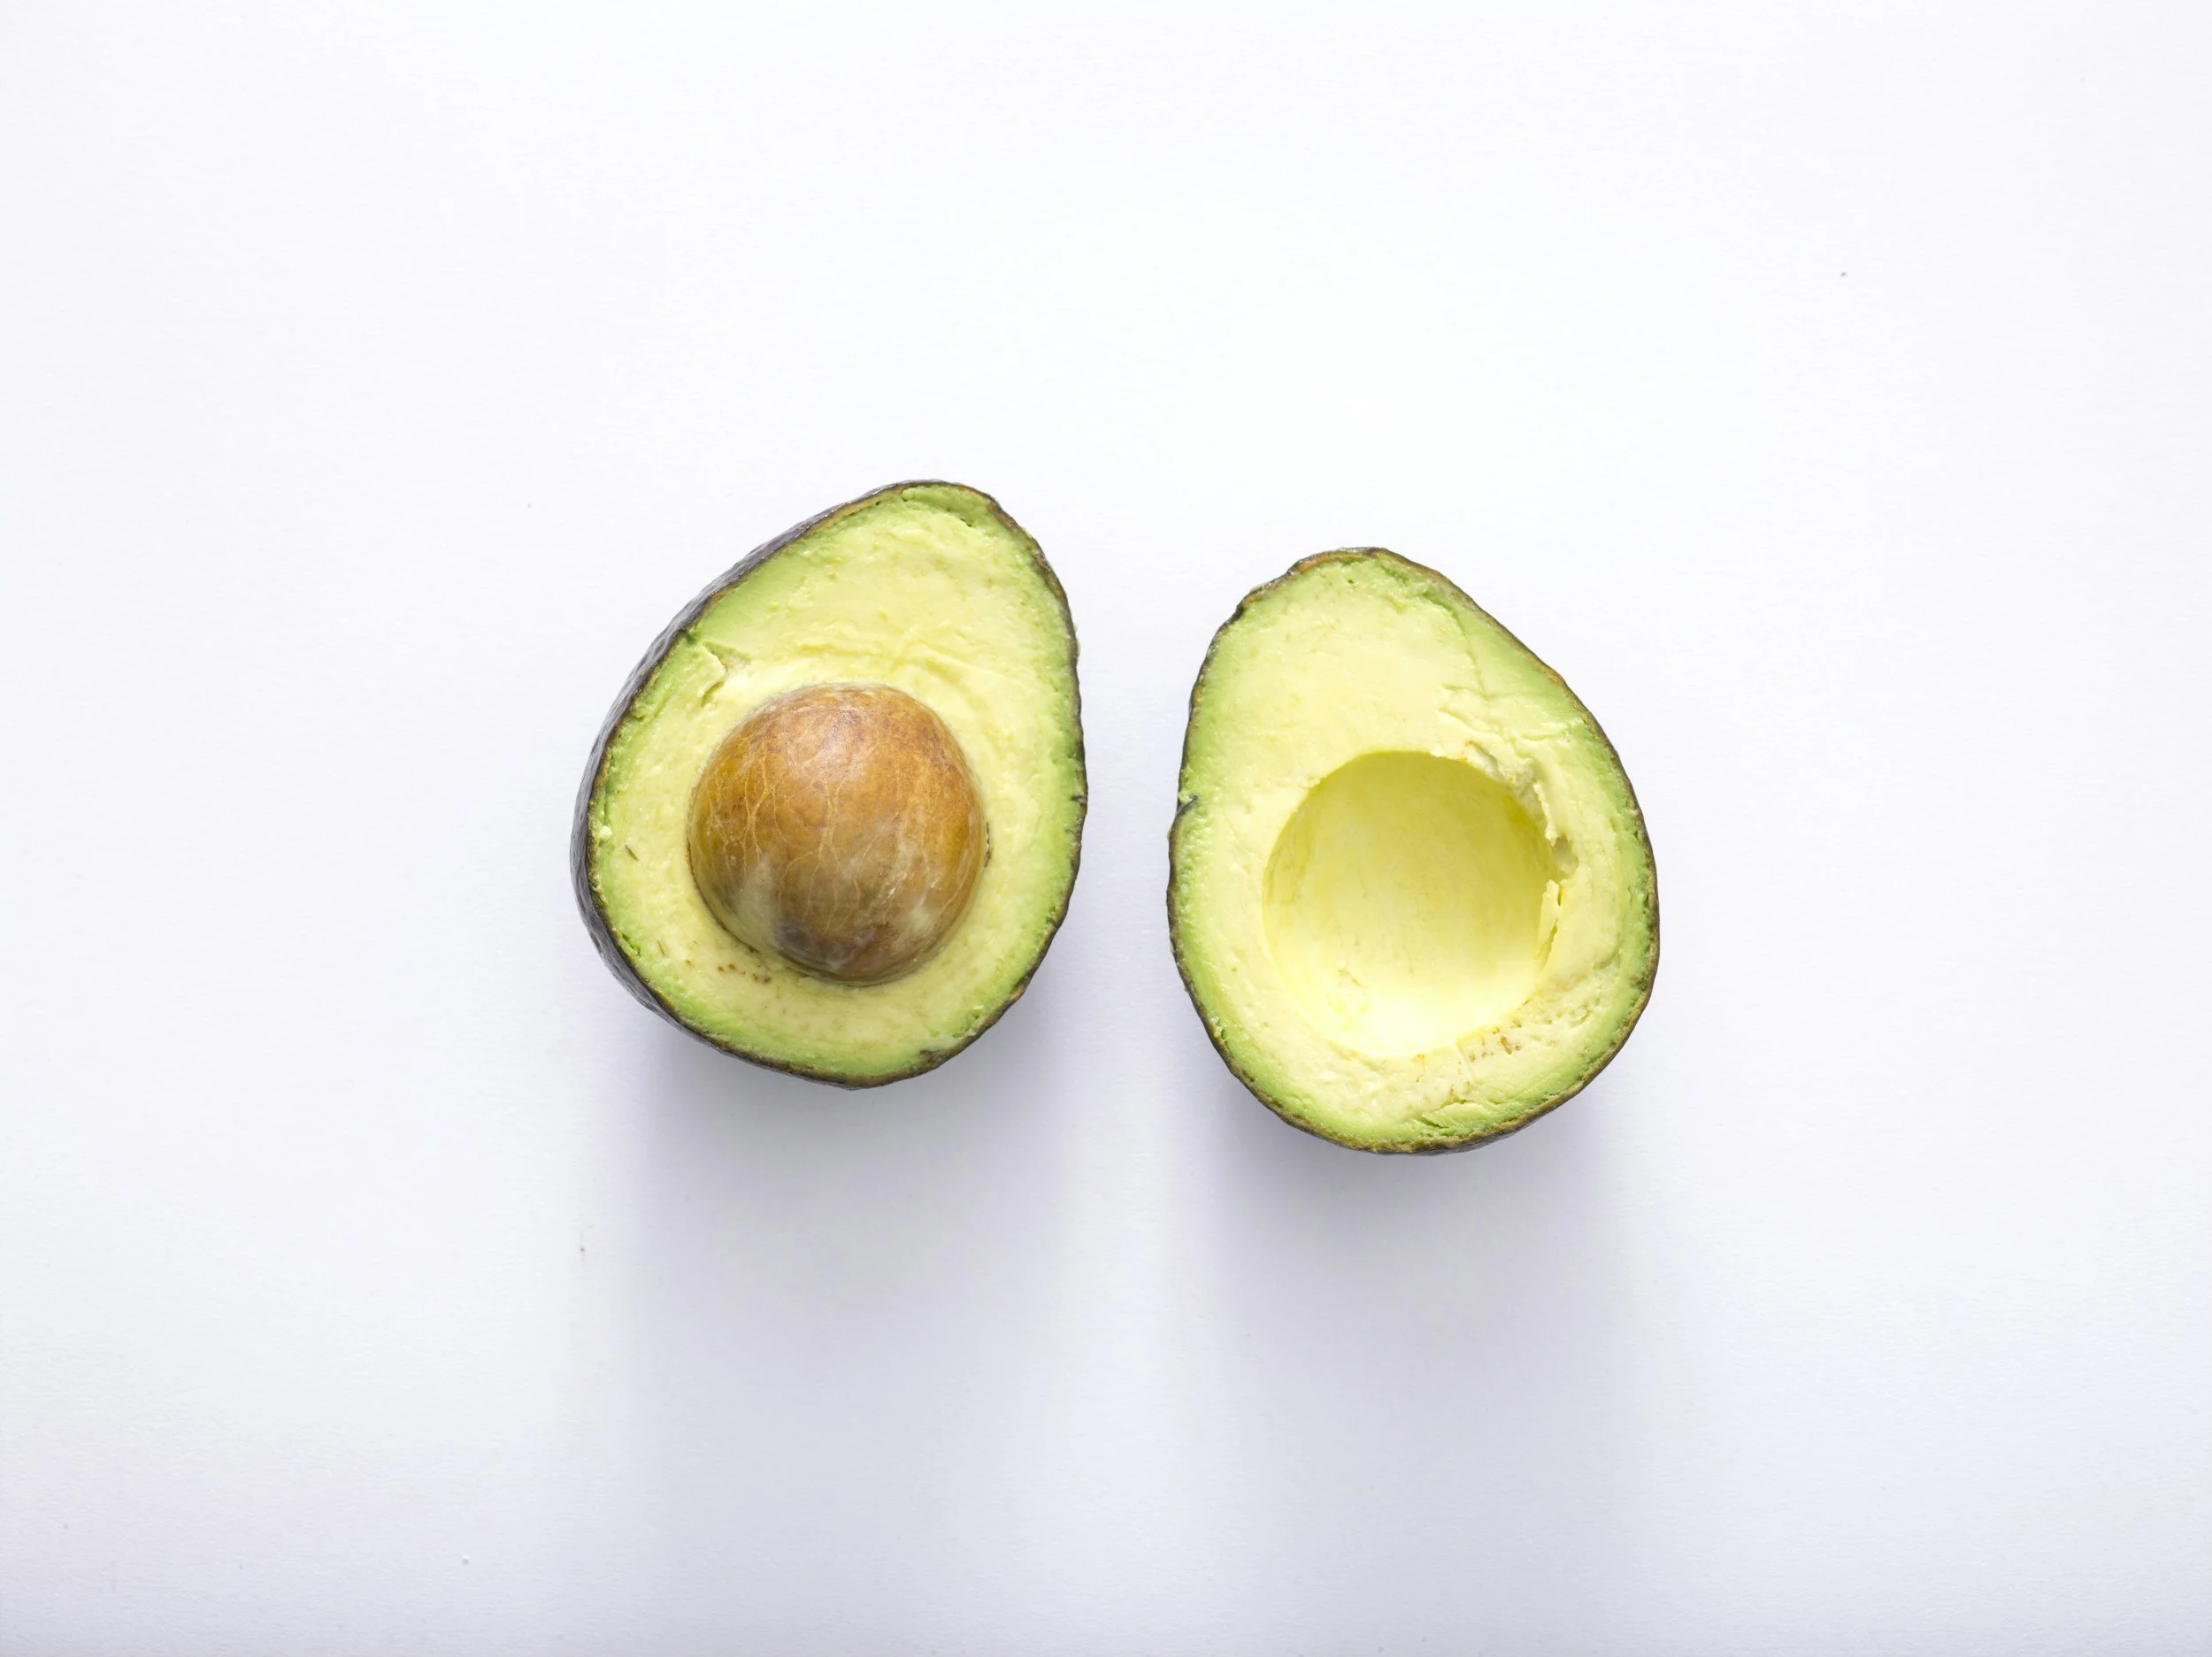
Never know what to do with an over-ripe avocado? Don’t bin it! Instead, use it to make a DIY hair mask that will hydrate and restore dry hair.

Avocados contain natural oils that are super hydrating for dry hair, so using it in a mask is a great way to add shine. It’s also full of vitamins that are nourishing to the scalp and can help hair look healthier.

Avocado hair mask recipe:

  1. Mash an avocado until smooth. You can also use a blender to process it.

  2. Wet your hair then spread the avocado from your roots to your tips.

  3. Leave it in your hair for at least 15 minutes.

  4. Shampoo your hair as normal then rinse with cold water.