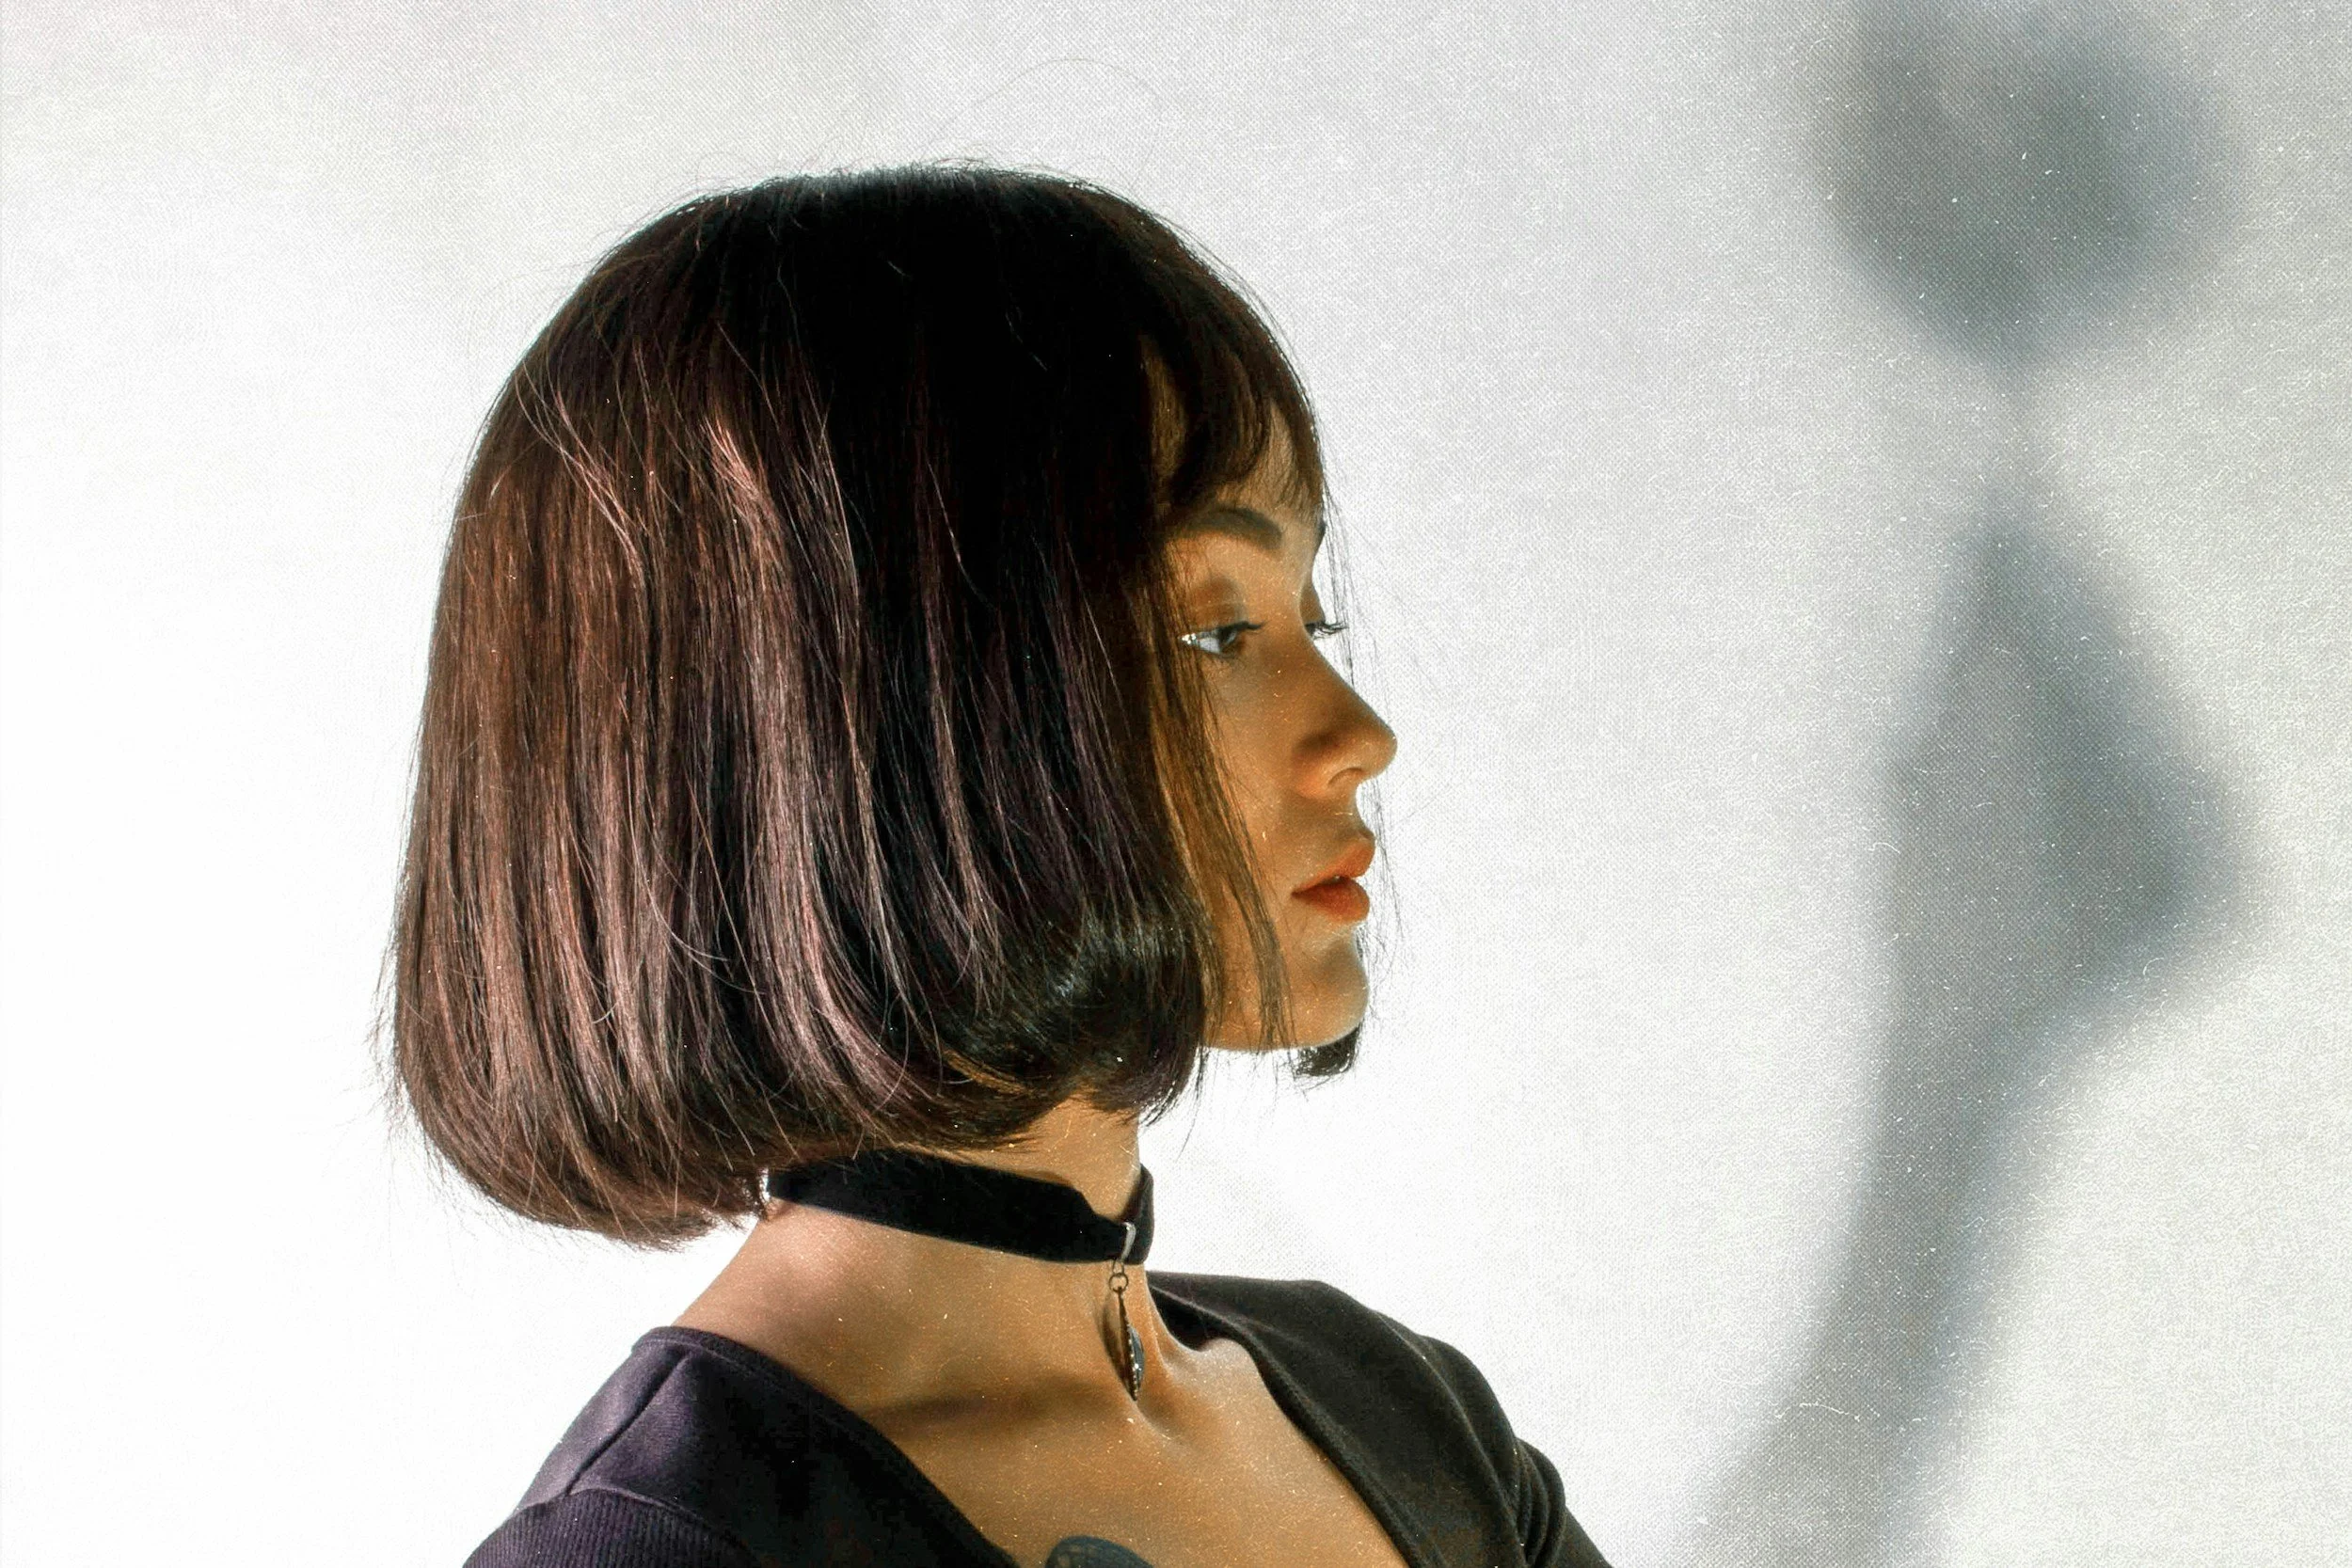
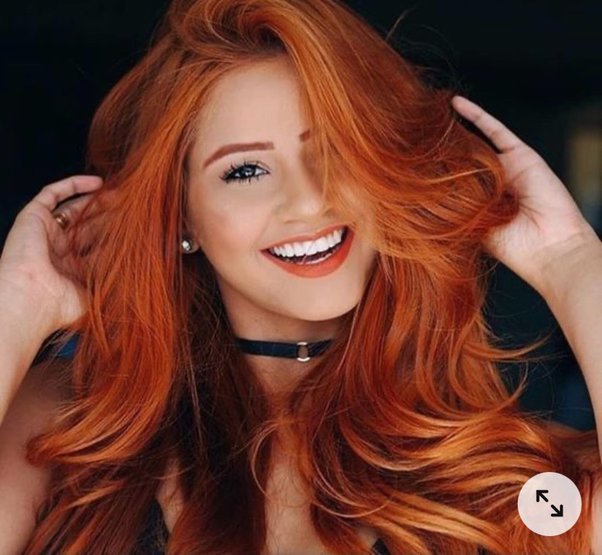
Red hair colour – it’s fierce, vibrant and stands out in a crowd. From warm, orange-red hues to the boldest scarlet shade, there are so many ways to give your hair an edge.
Always toyed with the idea of going red but worried about maintaining those fiery hues? We’ve spent years honing our hair colour products, so vibrant, fiery and bright red hair is easier than ever to achieve.
Follow our guide on how to dye your hair red at home – from choosing your best shade, to the dyeing process and aftercare.
Which shade of red is right for me?
-For cool, rosier skin tones: Go for red-red or red-violet
-For warmer or olive skin tones: Choose red-red or orange-red. It’s best to stick to either two shades lighter or darker than your natural hair colour. This is more likely to give you a great colour match with your brows and skin tone.
How to dye hair bright red
Follow these steps to achieve beautiful, bright red hair with Colorista Bright Red Permanent Gel Hair Dye. If you don’t want to commit to a full head of colour, dip-dyeing and ombre techniques are a great way to get some subtle red tones. Make sure you are colour safe and that you do your allergy alert test 48h before colouring hair! You can do this by applying a small amount of the red hair dye and peroxide behind your ear.
Step 1
Red hair colour dyes better when you haven’t used shampoo for at least a day. Be sure to wear gloves, cover shoulders with a towel and wear an old t-shirt. Then begin by brushing out any knots and clip your hair up into two or three sections, leaving the bottom layer loose.
Step 2
Here’s a simple and great hack to make sure you don’t stain your skin: rub a thin layer of petroleum jelly around your hairline. Who wants pink blotches on their forehead? Not us!
Step 3
Remember to always follow the instructions on the packet. As a general guide (please refer to the Colorista Paint leaflet for more information) begin applying the mixture onto your roots and then apply the remaining product through lengths and ends. For even, all-over colour, it might be easier to get a friend to help you out. Repeat layer-by-layer, un-clipping hair as you go, making sure you’re coating every strand. Applying the dye can take between 10 and 20 minutes depending on the thickness of your hair.
Step 4
Once you’ve applied the red hair colour, secure your hair so it’s out of way. Remove any excess dye from the skin surrounding your hairline, then relax while you wait for the colour to develop. Go with the recommended time in the instruction leaflet, but check on it regularly to see how it’s progressing. We recommend waiting the full development time for the most vibrant, long-lasting colour. After all, good things come to those who wait!
Step 5
Time’s up! Wash your hair until the water runs clear and apply the nourishing post-colour mask included in the box. Leave the conditioner in for a while longer than usual to really lock that moisture into your hair.
Dry straight away to see your new vibrant red hair!
Dyeing dark hair red
Brunette is an easy shade to transition from, providing the red hair colour you choose is darker than your current shade. The red hues in permanent dye are powerful and transform brown hair easily. Dyeing black hair red (especially if it’s been dyed black) isn’t recommended unless you see a hair colour professional who can bleach it first. Don’t want to go for a permanent shade? You could always try our Colorista Washout in red.
Dyeing blonde hair red
Blonde bombshells, it’s worth noting that rich, merlot shades of red could end up turning pink, which probably isn’t quite the look you were going for. Use the Colorista bright red shade, and make sure you keep up the fade-defying maintenance tips afterwards to keep your locks vibrant.
Our Colorista Bright Red Permanent Gel Hair Dye isn’t recommended for very light blondes, but rose gold could be your colour. Discover different rose gold looks here.
How to stop red hair fading
Red hair colour does have a reputation for fading fast. This can be explained by some simple science: red molecules are slightly larger than those found in other hair dyes, and the larger surface area stands less chance of clinging to your hair.
But it’s not all doom and gloom – following a colour maintenance haircare routine and investing in a good quality home dye kit are essential for maintaining luscious red locks. Colorista Bright Red Permanent Gel Hair Dye is expertly formulated to lock in colour, and by using Elvive Colour Protect products in your daily routine, your hair will look radiant for longer and get the nourishment it needs to stay looking fresh.
Fancy trying a different bright shade? Get some inspiration for a bold new look here, or if you fancy something lighter, follow our guide to dyeing your hair silver.