

We spend so much time thinking about what to put on our hair that we sometimes forget that health actually starts from within.
While no single food will magically give you waist-length locks overnight, eating a balanced diet can absolutely support stronger, shinier, healthier hair growth.
Protein is your hair’s best friend
Hair is made mostly of protein, specifically keratin. So if your diet lacks protein, your hair can become weaker and grow more slowly.
Here’s our top list of protein-rich foods you can eat to improve hair health:
Eggs
Chicken
Fish
Greek yoghurt
Beans and lentils
Nuts and seeds
Bonus points for eggs, which also contain biotin — a nutrient often linked to healthy hair growth.
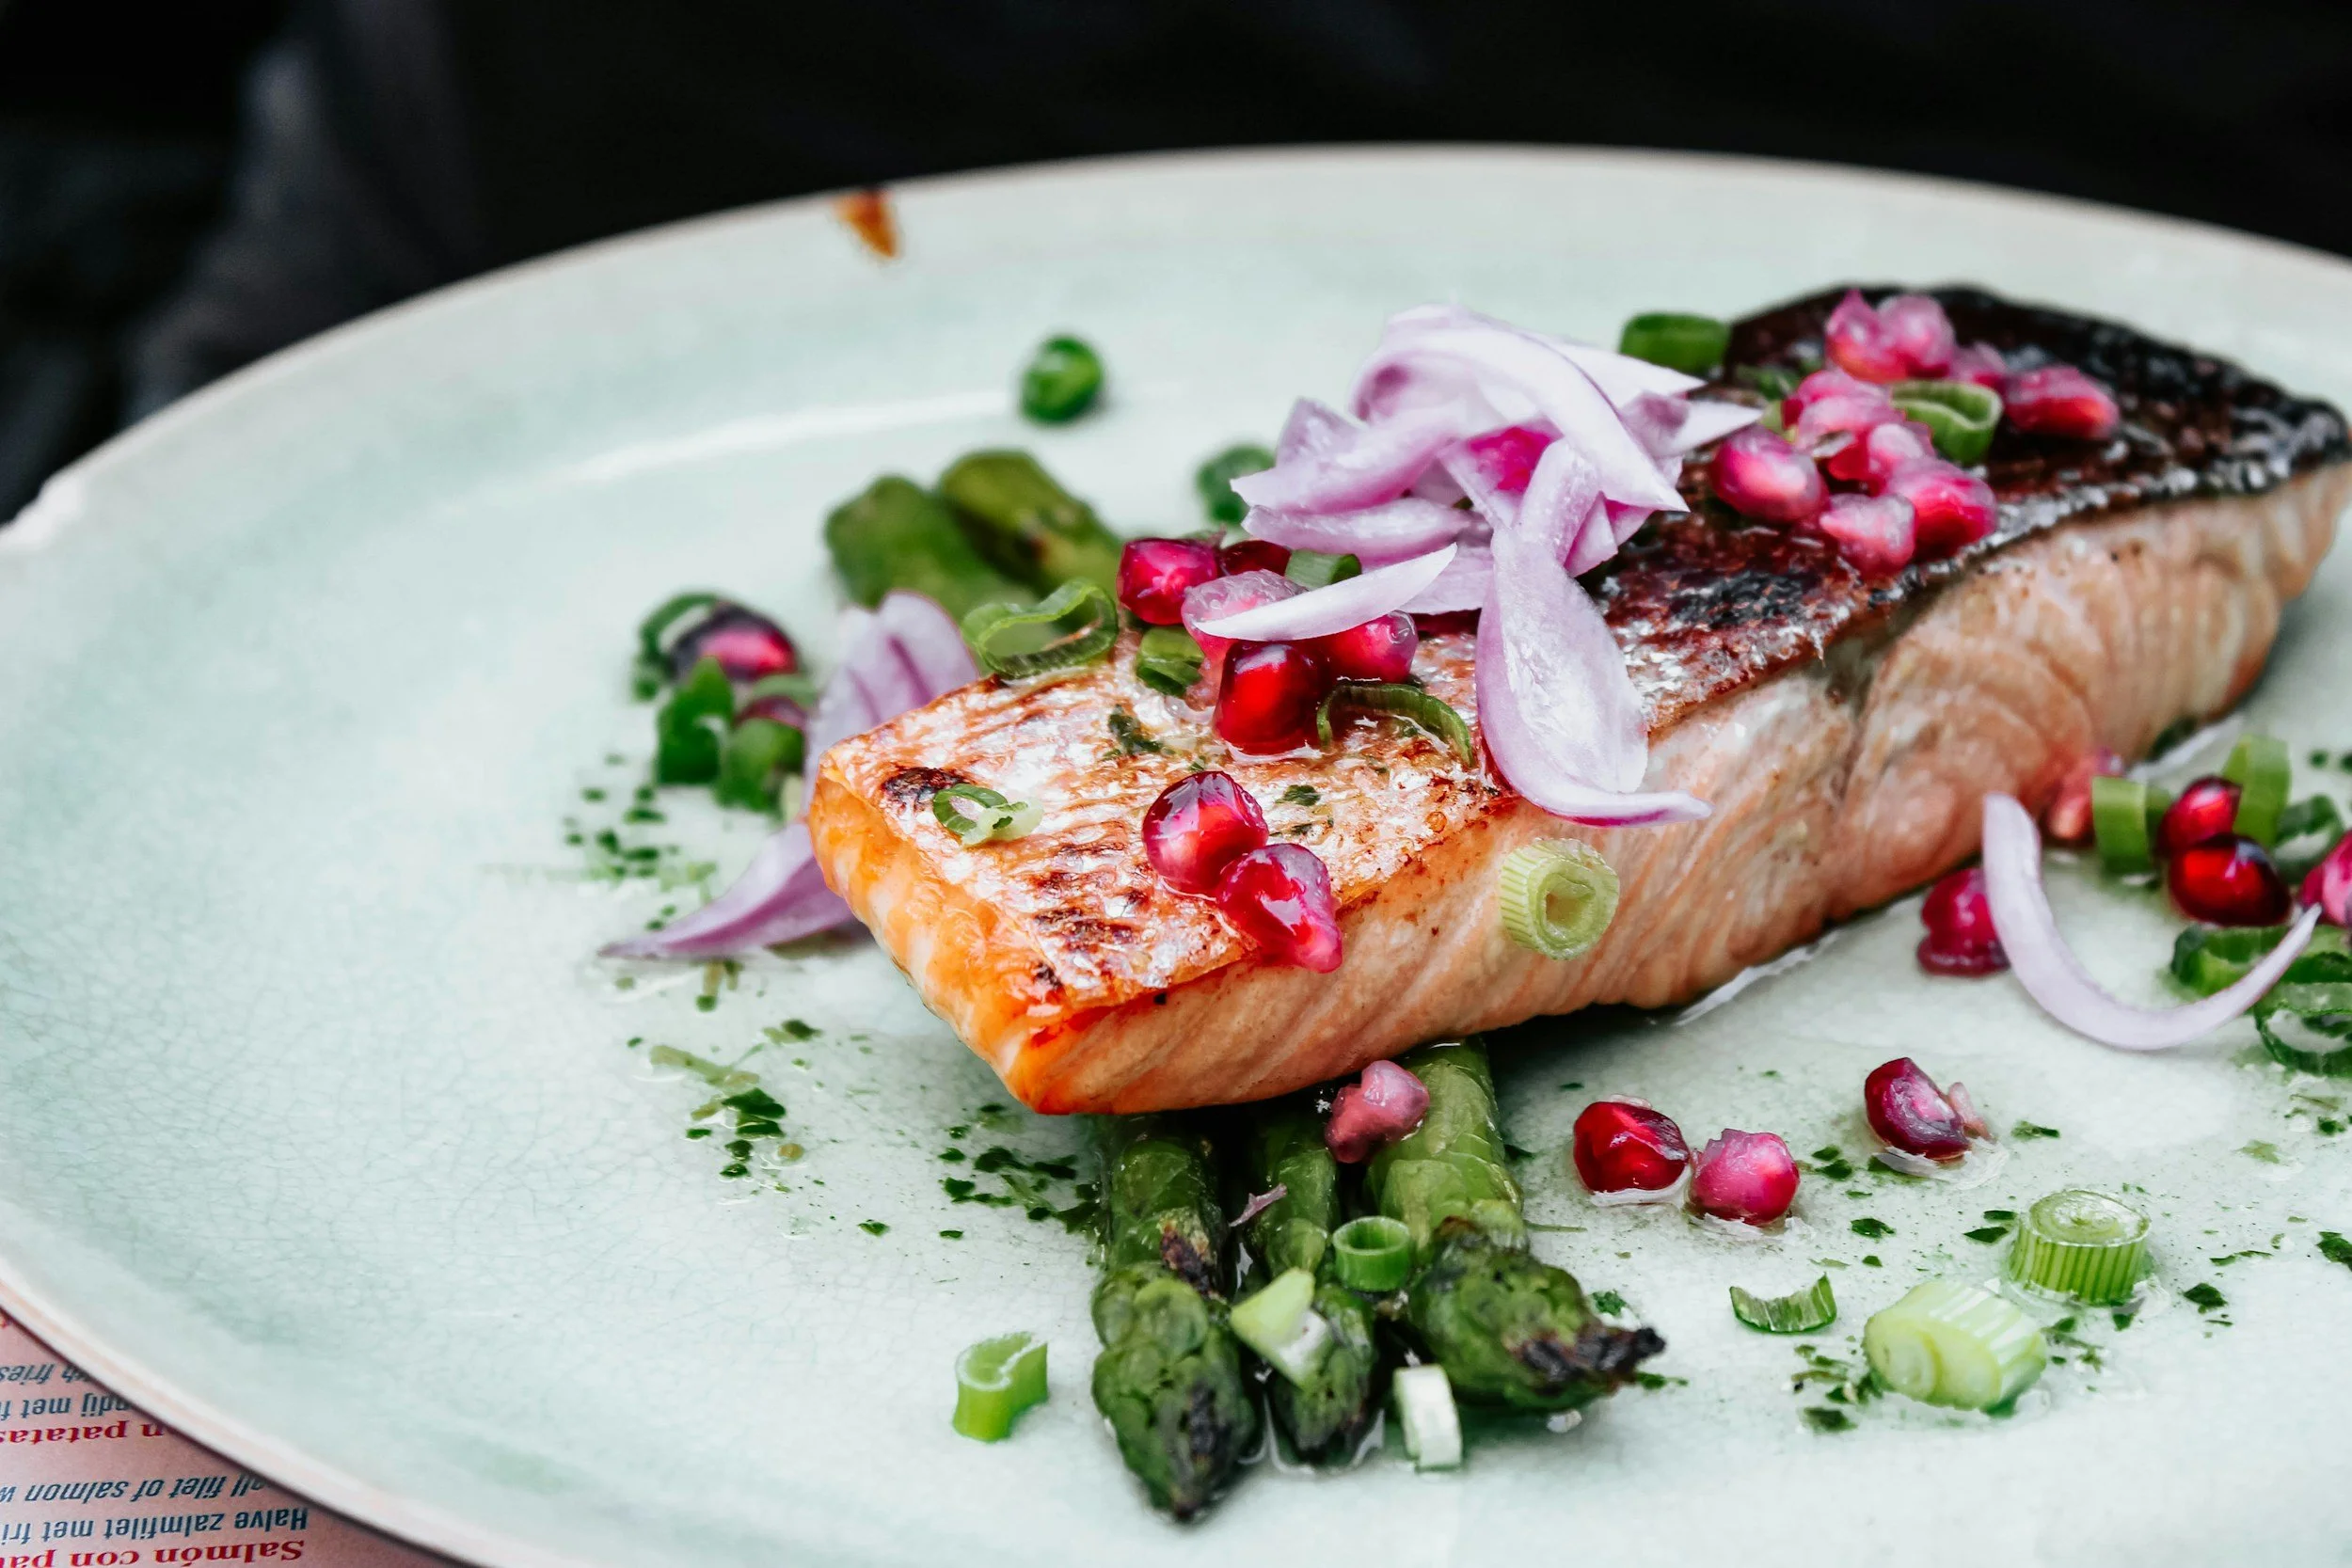
Healthy fats = healthy hair
If your hair feels dry or dull, healthy fats may help support shine and scalp health.
Foods rich in omega-3 fatty acids include:
Salmon
Avocados
Walnuts
Chia seeds
Think glossy hair from the inside out.
Iron matters more than you think
Low iron levels can sometimes contribute to hair shedding, particularly in women.
Iron-rich foods include:
Spinach
Red meat
Lentils
Tofu
Pumpkin seeds
Pairing iron-rich foods with vitamin C - like oranges or peppers - can help your body absorb it better, too.
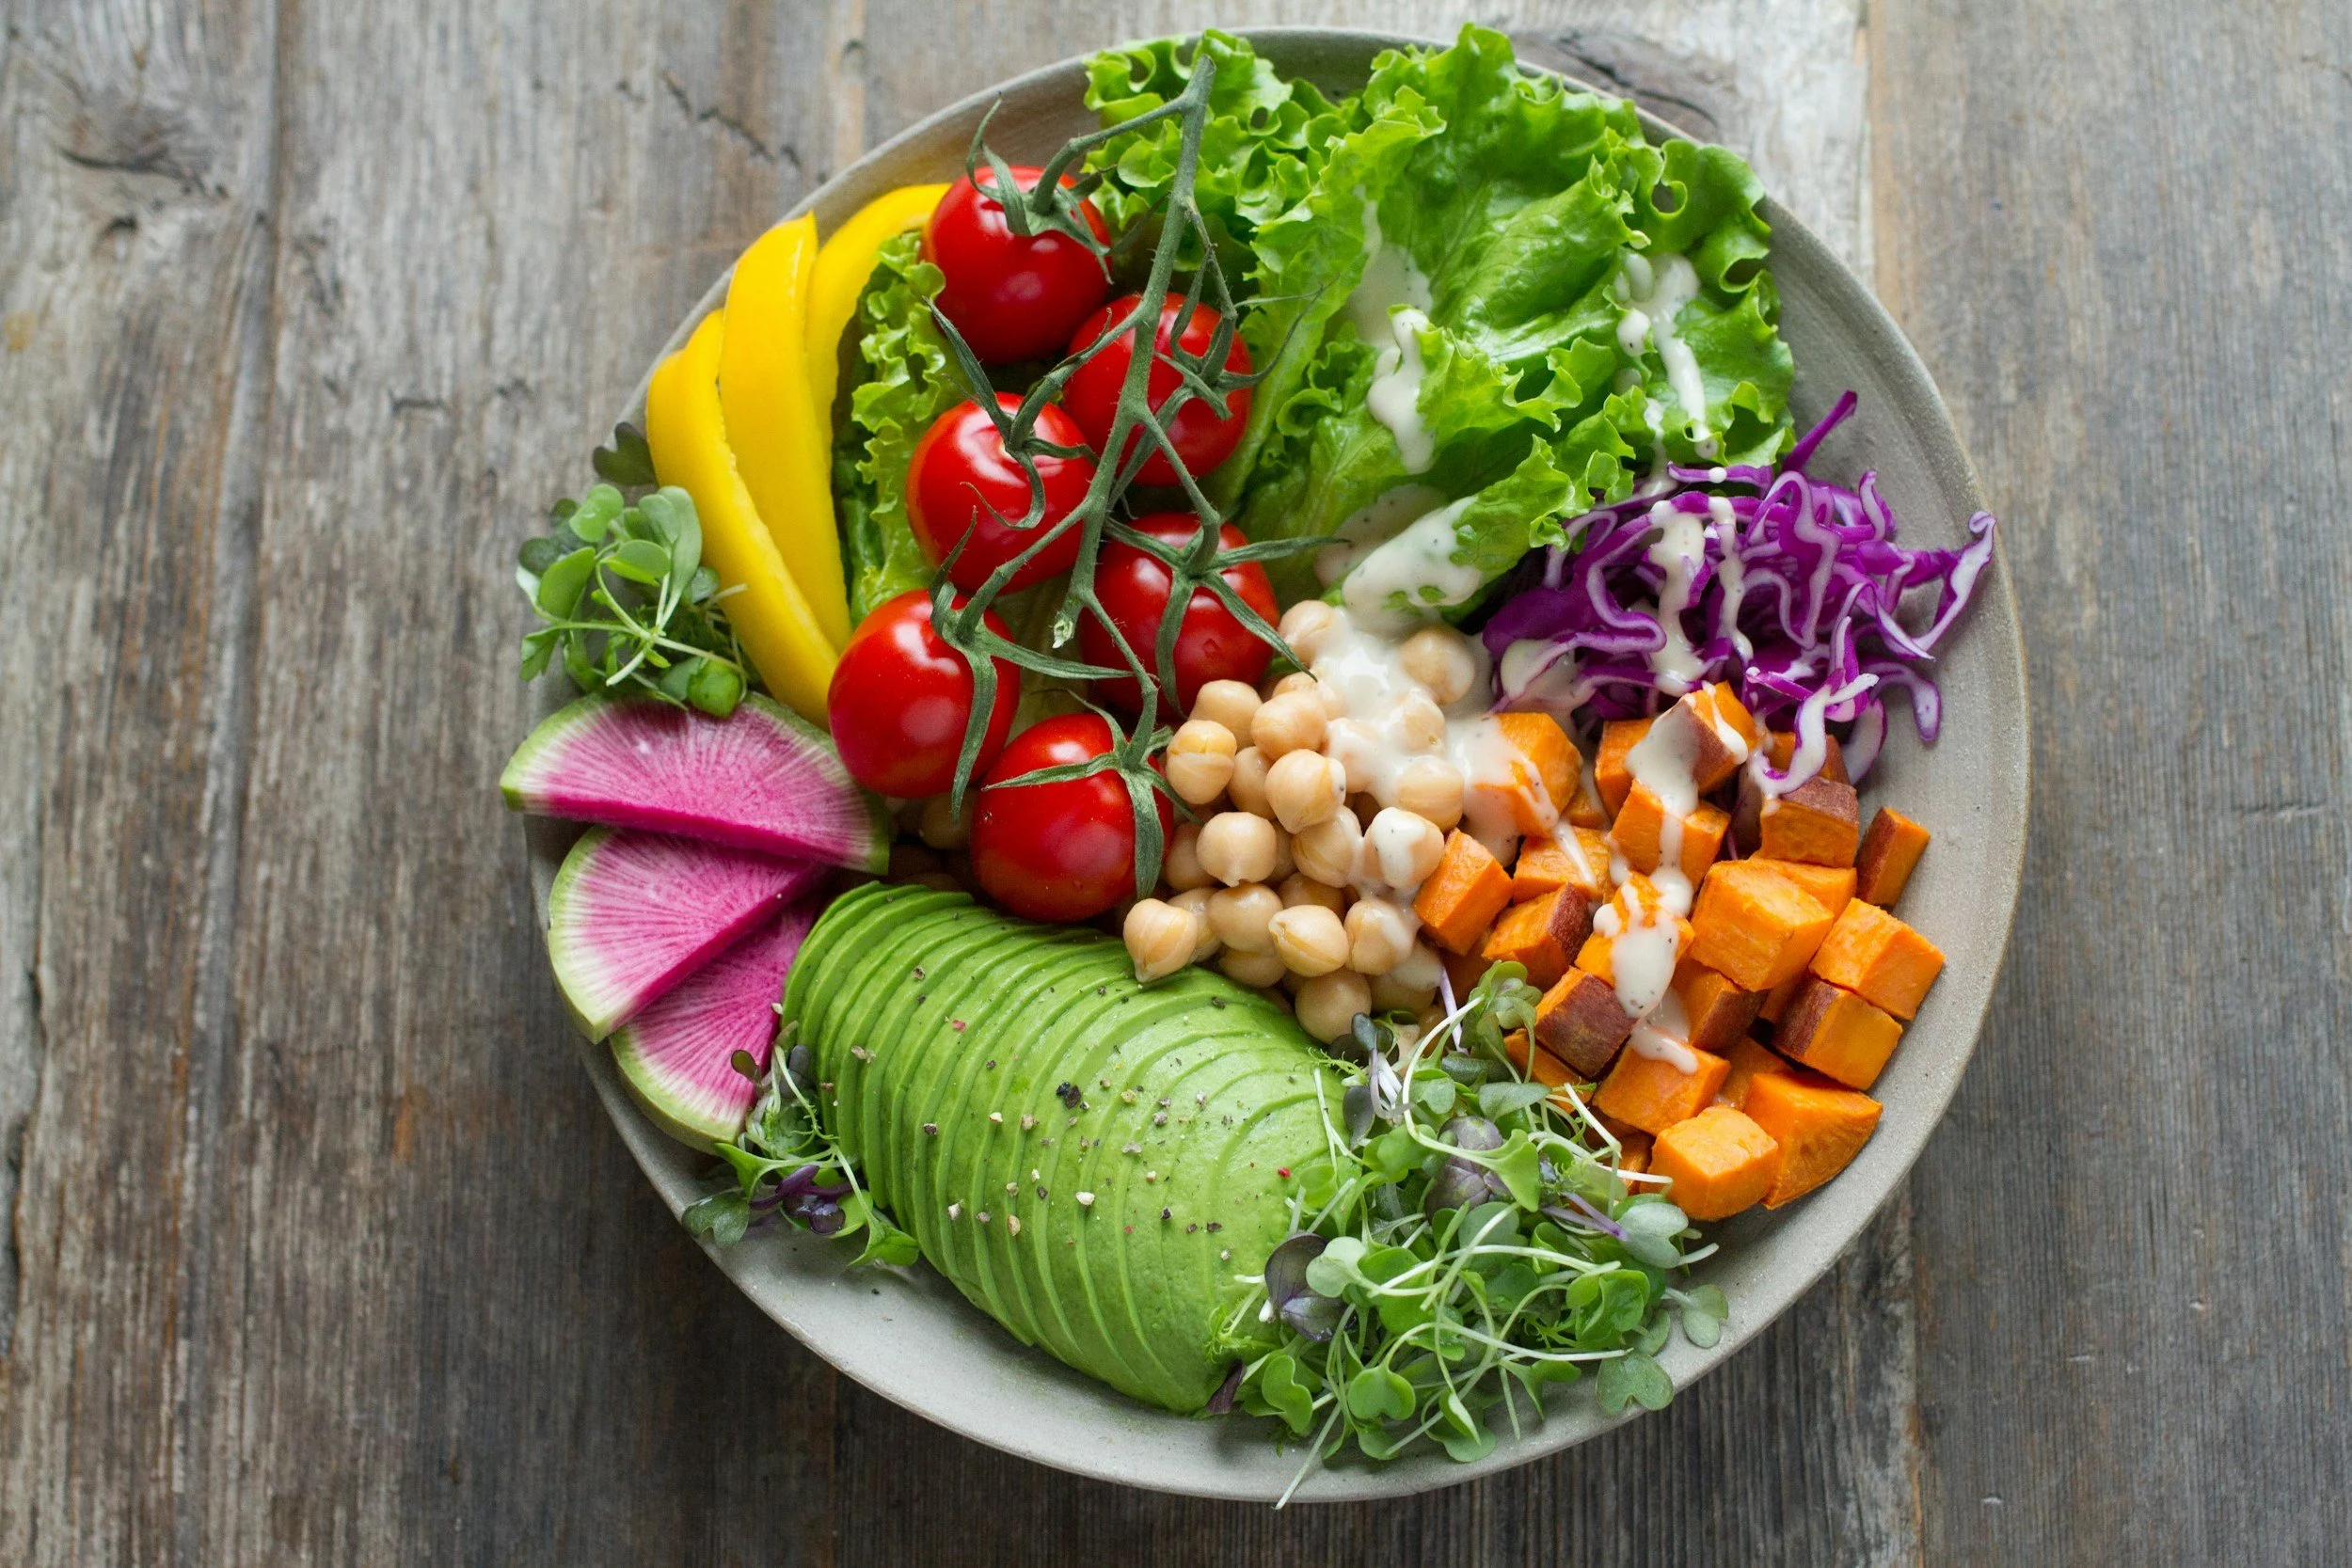
Hydrate, hydrate, hydrate
Technically not a food — but water deserves a mention. Dehydration can affect your scalp and hair condition more than you’d think. So when we tell you to drink more water, we know what we’re talking about.
Vitamins that support healthy hair
Some key nutrients linked to healthy hair include:
Biotin
Vitamin D
Zinc
Iron
Omega-3s
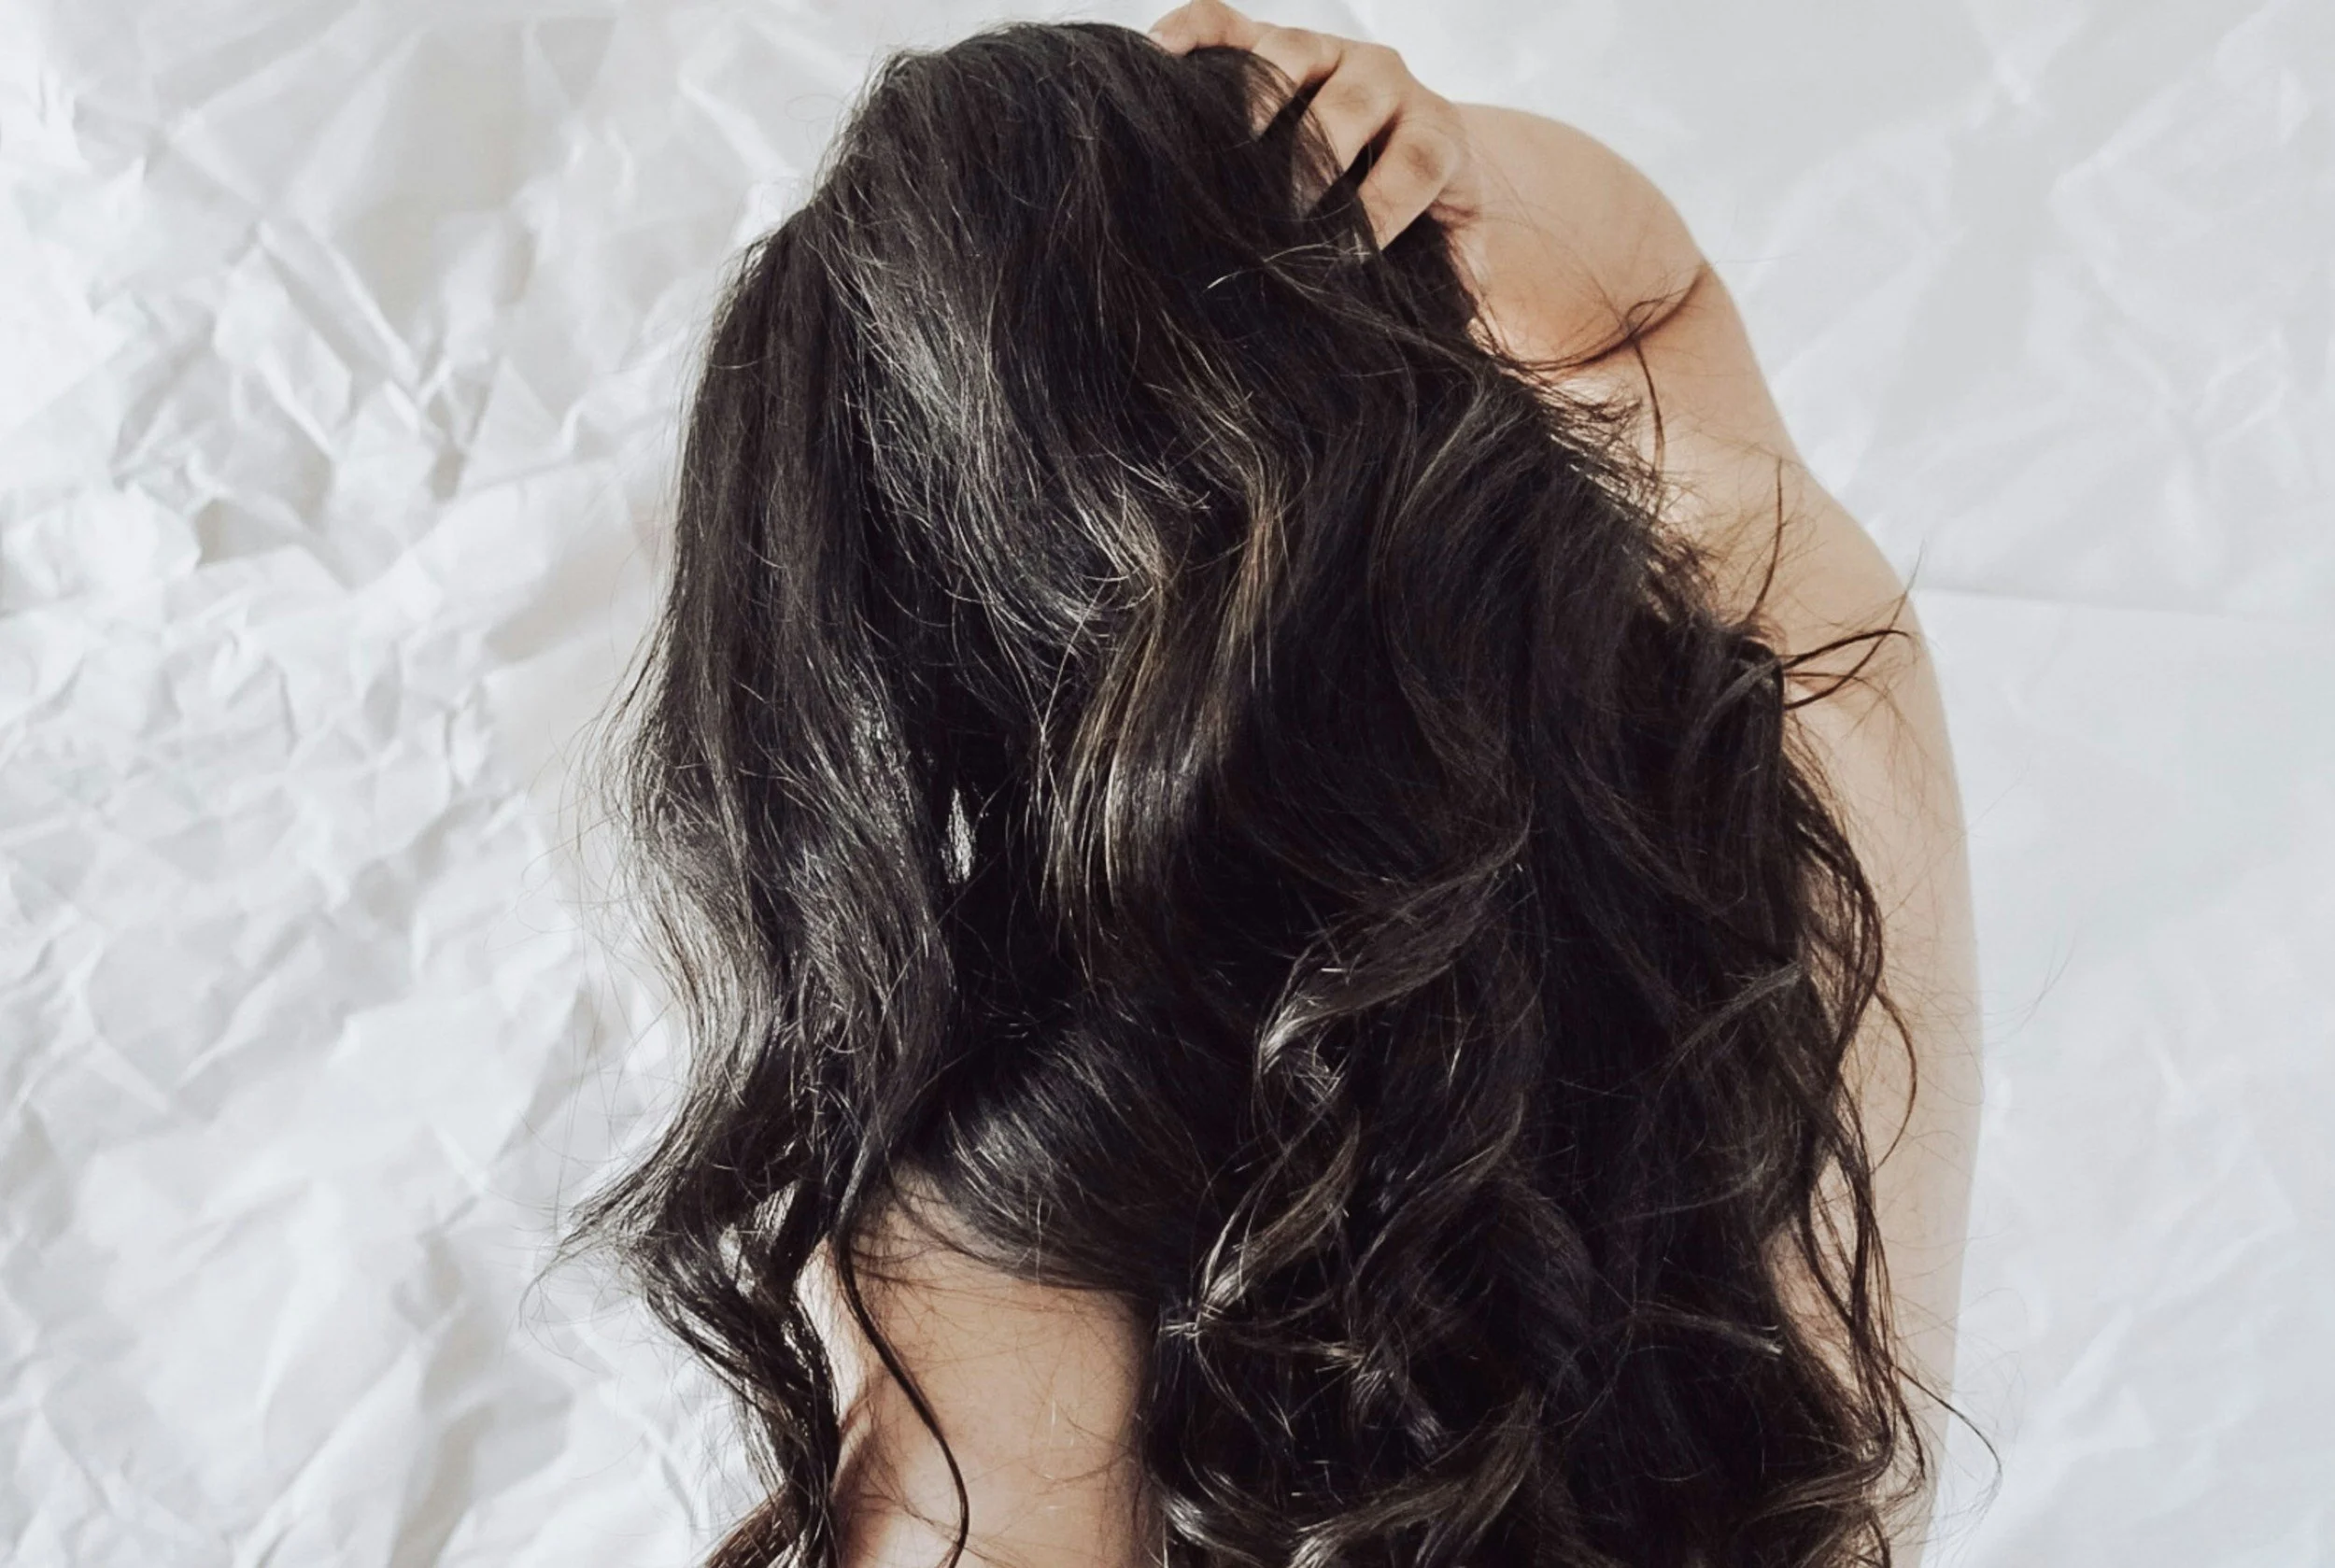
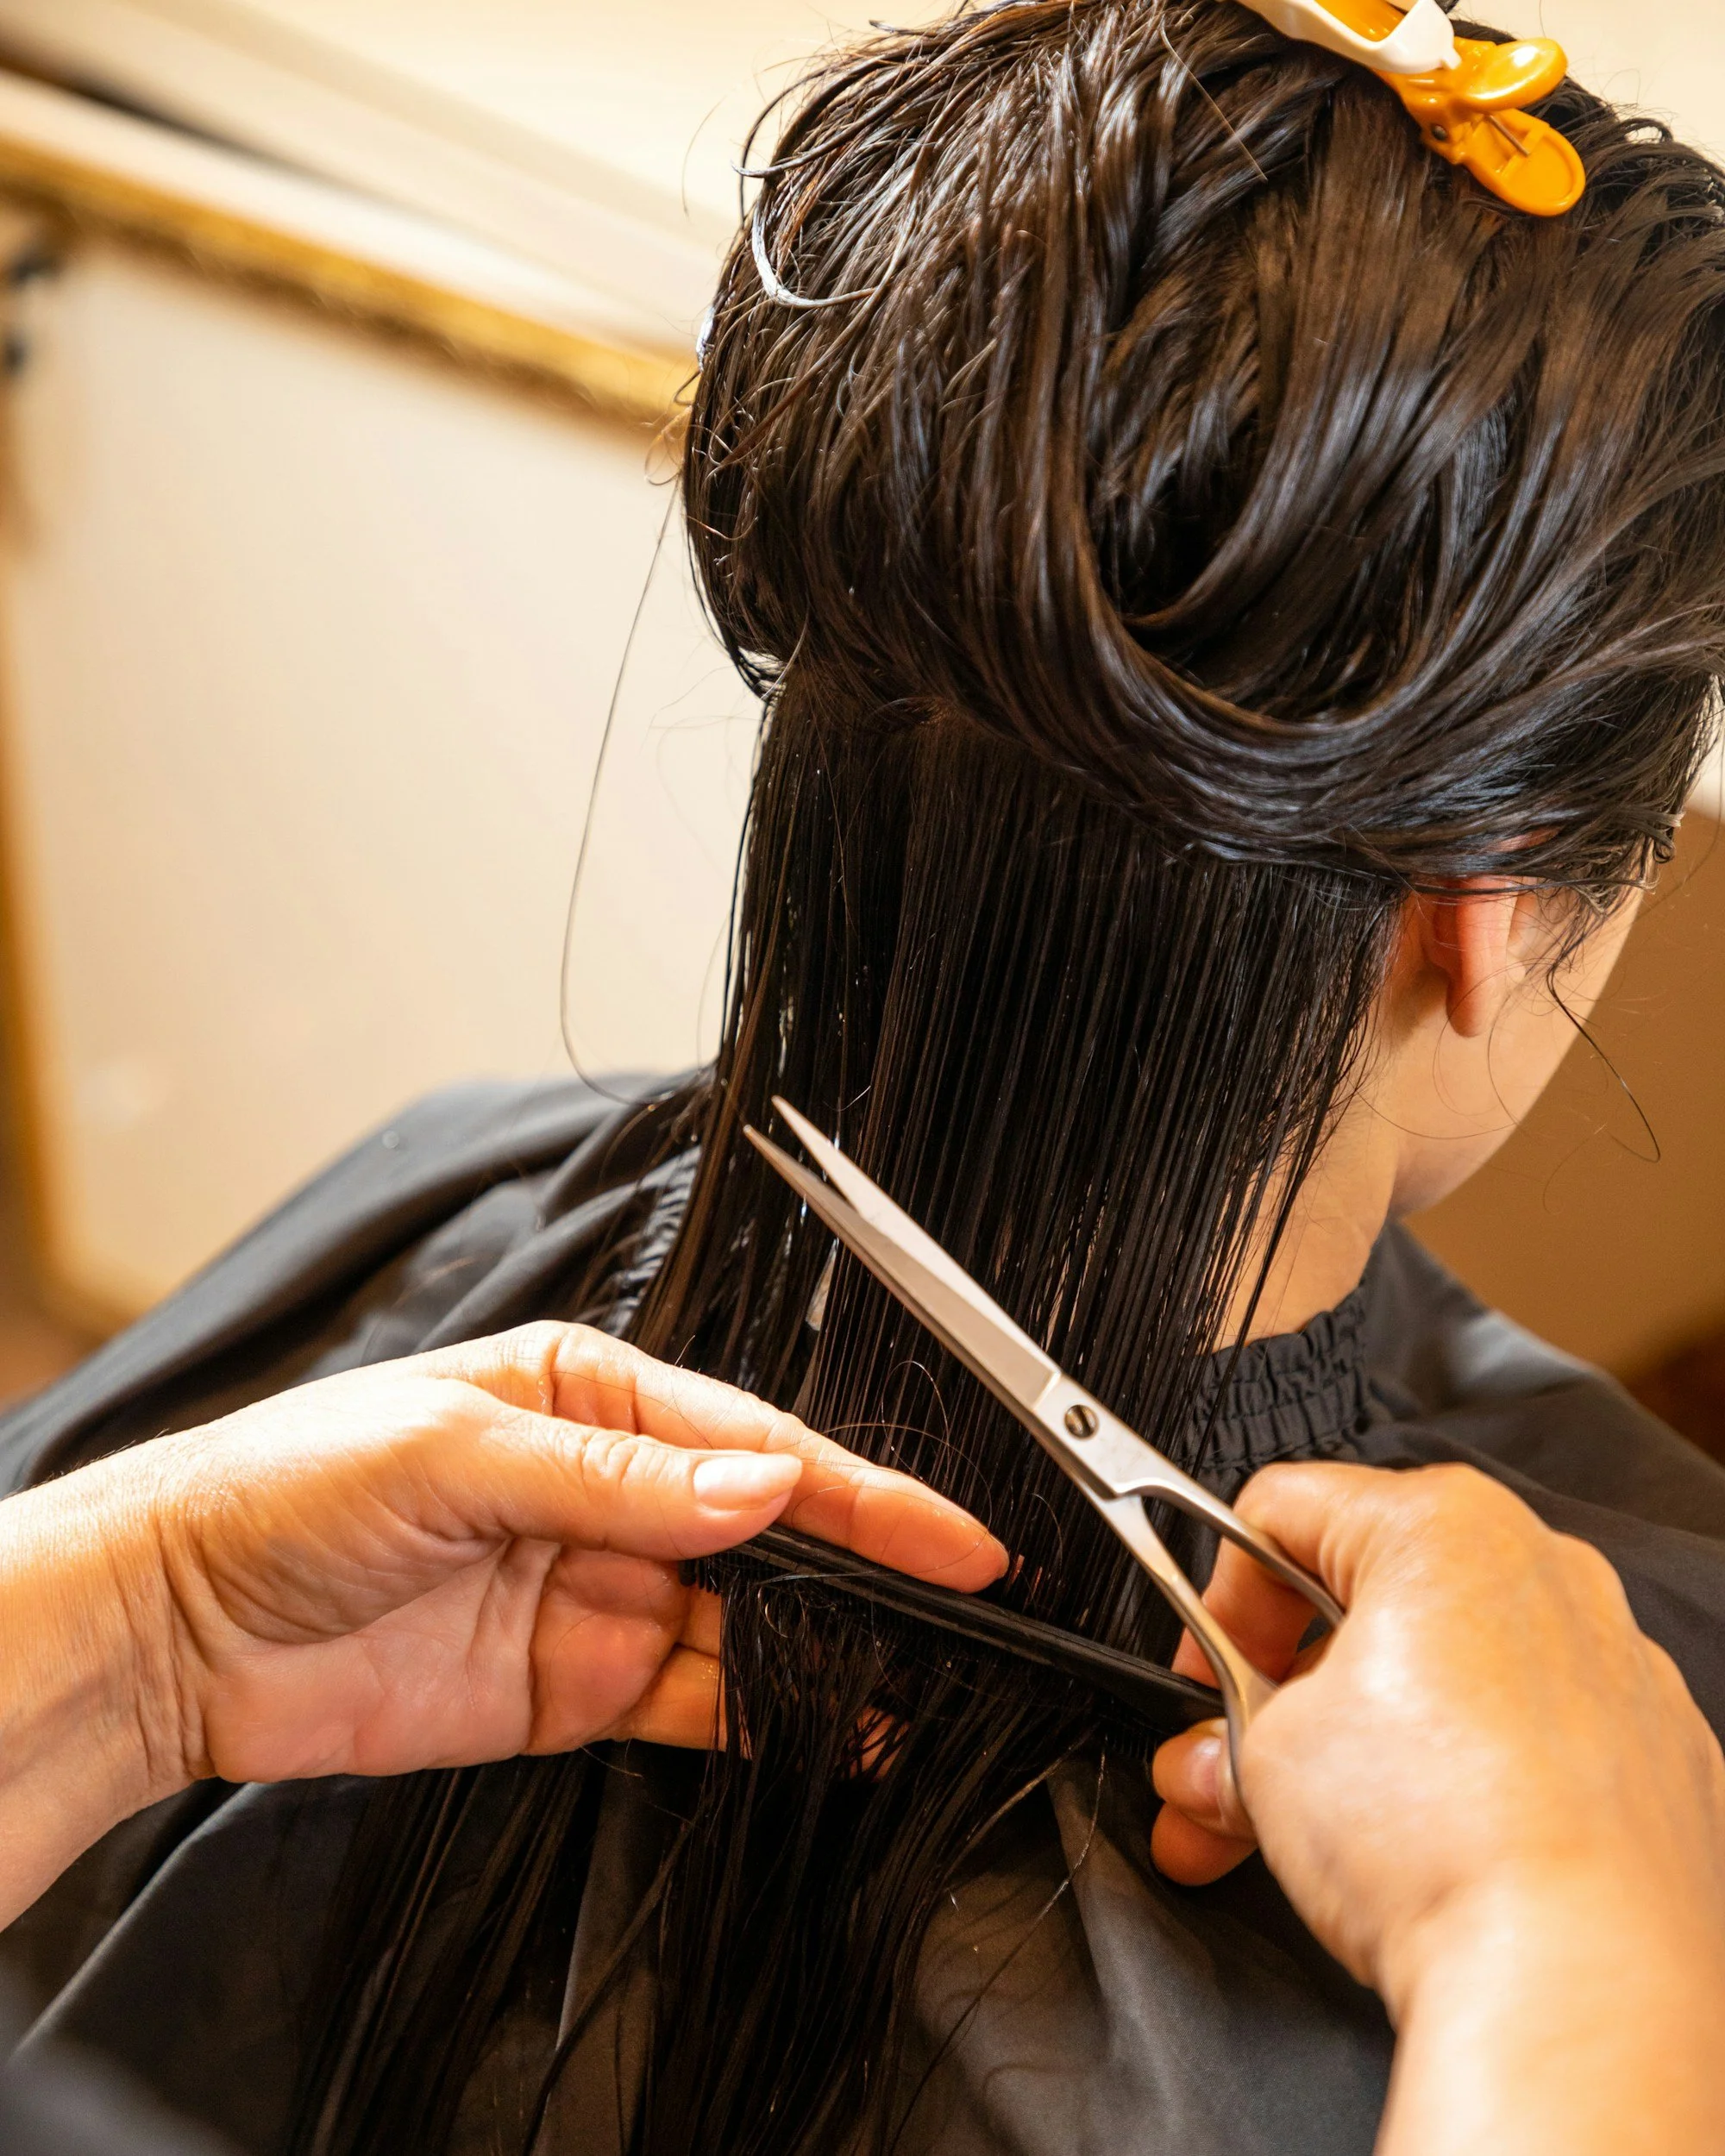
Hair growth takes time. On average, hair grows around half an inch per month, so consistency matters more than quick fixes or miracle gummies promising Rapunzel hair overnight. Healthy habits, regular trims, scalp care, and good nutrition all work together to keep your hair looking its best.





Quisque iaculis facilisis lacinia. Mauris euismod pellentesque tellus sit amet mollis.